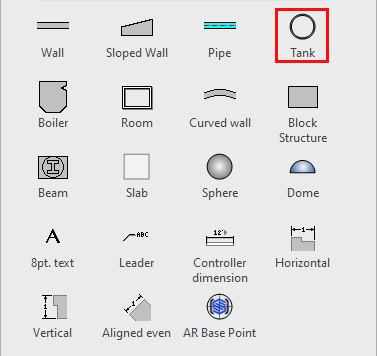
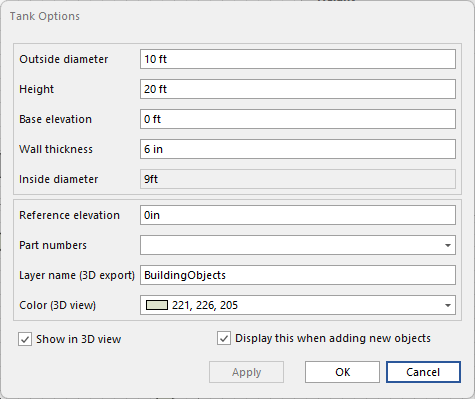
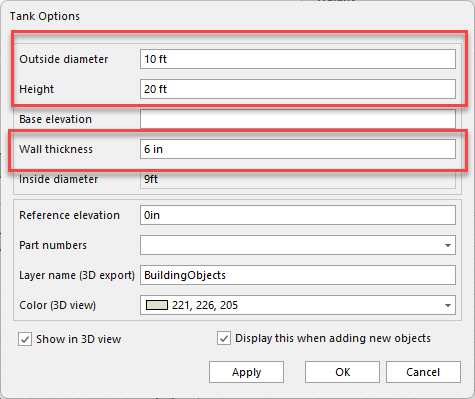
A Tank is a vertical cylindrical shape with controls for the outside diameter, thickness, start elevation, and height. Avontus Designer also calculates the inside diameter for reference purposes.
Polygon shape and Converting to Walls
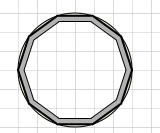
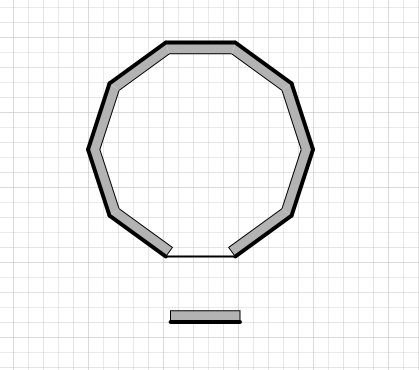
Converting a tank to walls is different from using a circular scaffold as it allows you to work on different shaped structures such as a pentagon or octagon-shaped structure.
When converting to walls you will have several options that will let you modify the shape to reflect the structure you will be working on.
For information on converting a circular tank to walls, please visit Creating a Round Tank and Converting it to Walls.
Polygon Walls
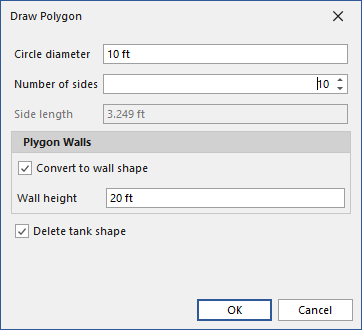
The Polygon Wall section allows the user to specify how many walls this Tank shape will have.
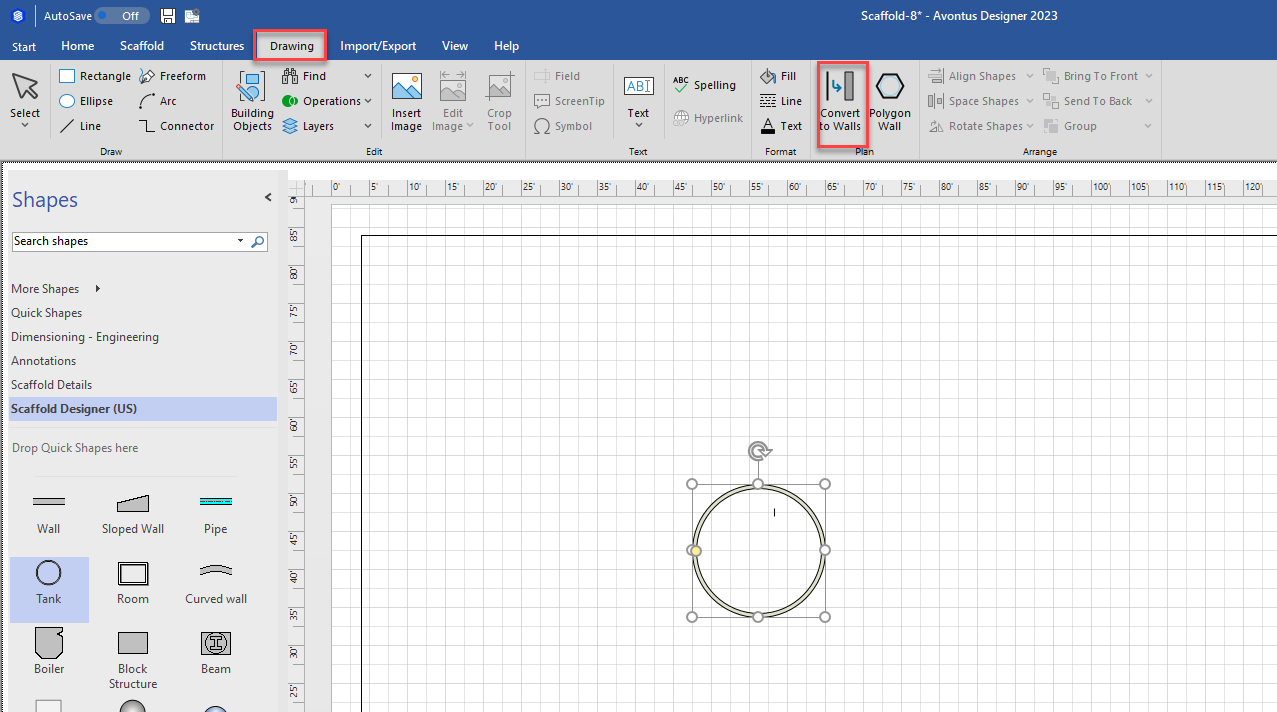
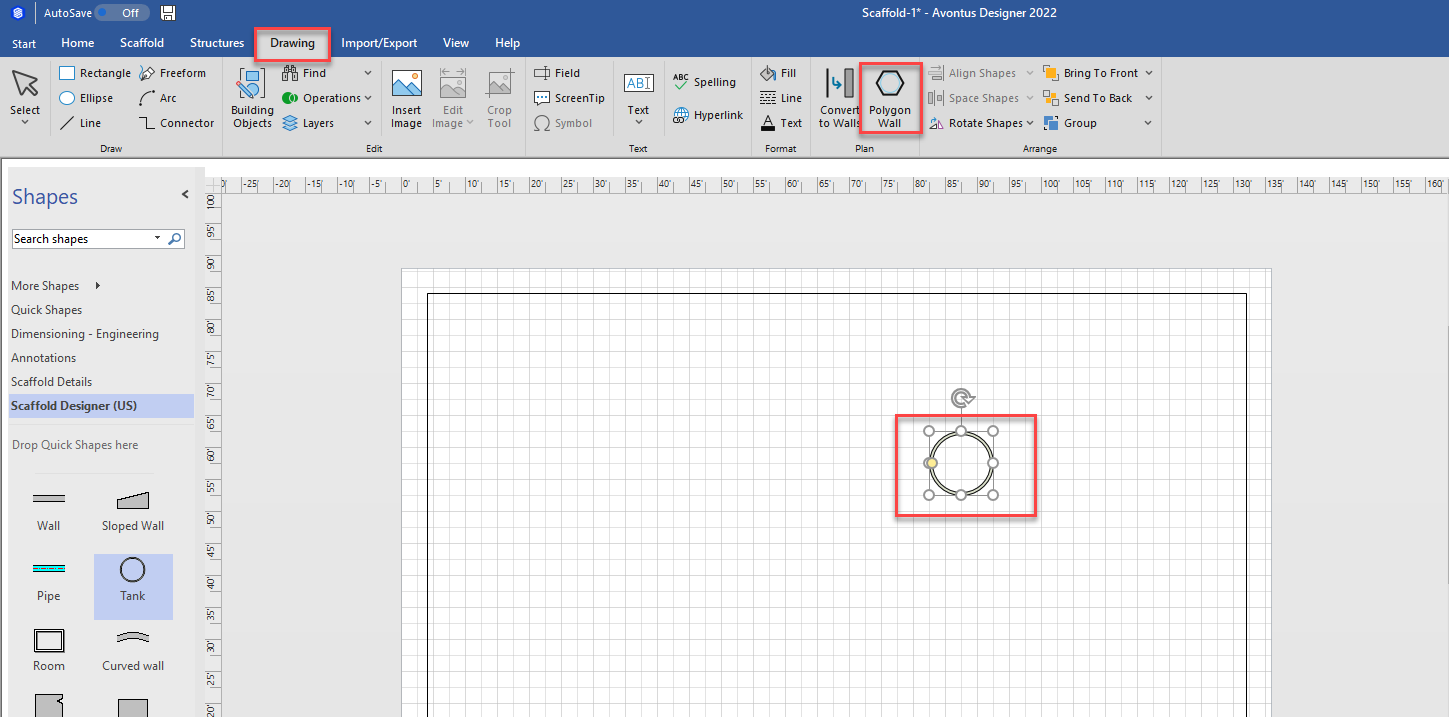
You can find Polygon Walls in the Drawing tab
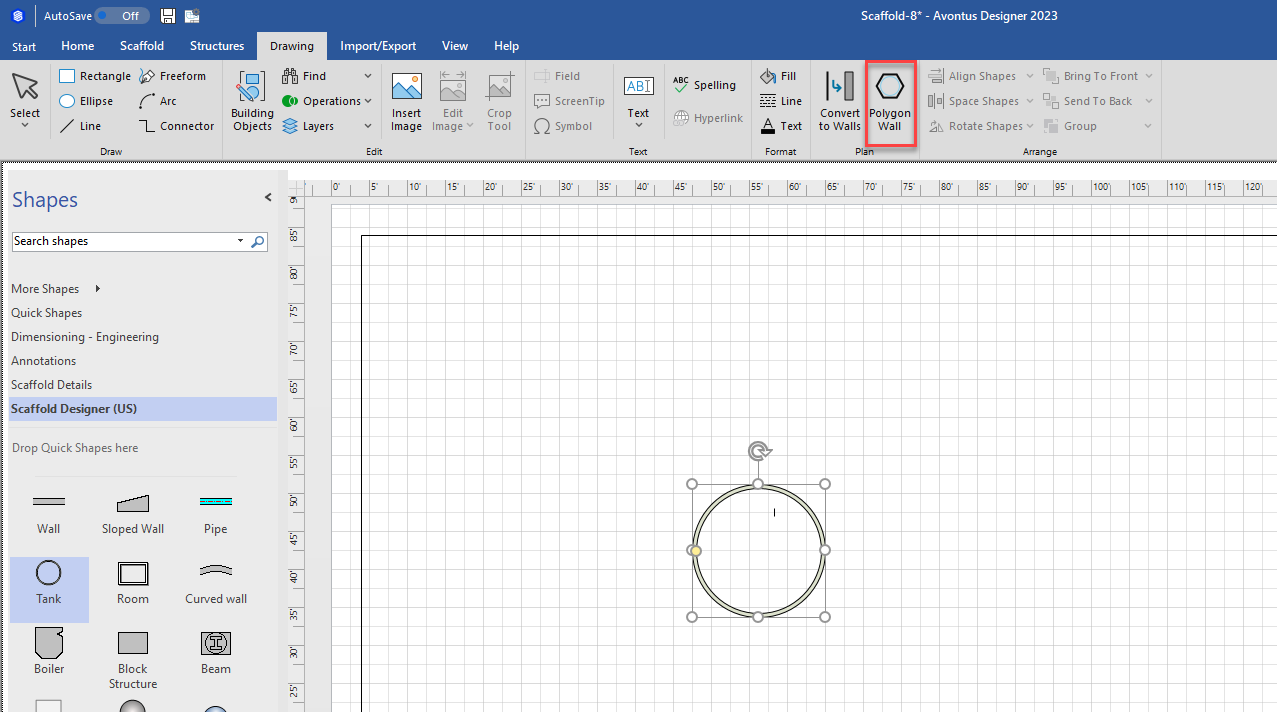
Click on Polygon Walls to bring up the Polygon Walls dialog.

Number of Sides- Specify the number of sides this tank will have.
Side Length-The length of each side.
Convert to Wall Shape
This keeps the tank shape.
Delete Tank Shape
This deletes the tank shape leaving only the walls.
Wall Shape
When you have changed the tank shape into multi-sided polygon shape, you can convert the shapes into walls.
You can convert Tanks to Walls in the Drawing Tab.
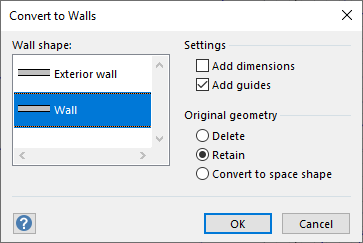
Select the wall shape that you want. Wall shapes from all open stencils appear in this list.
If you create new masters based on a wall shape, they also will appear in the Wall shape list.
Settings
In the Settings section you can select to add dimensions and guides to your shape/structure.
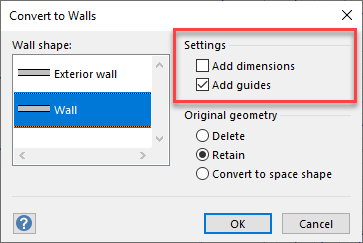
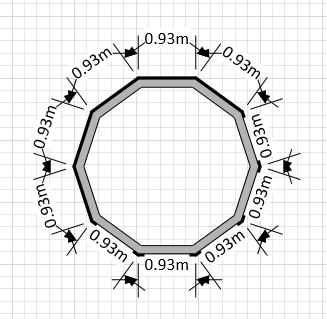
Add Dimensions
Select to add dimensions to new walls. Dimensions are added as separate shapes that are glued to the wall or to the wall's guide.
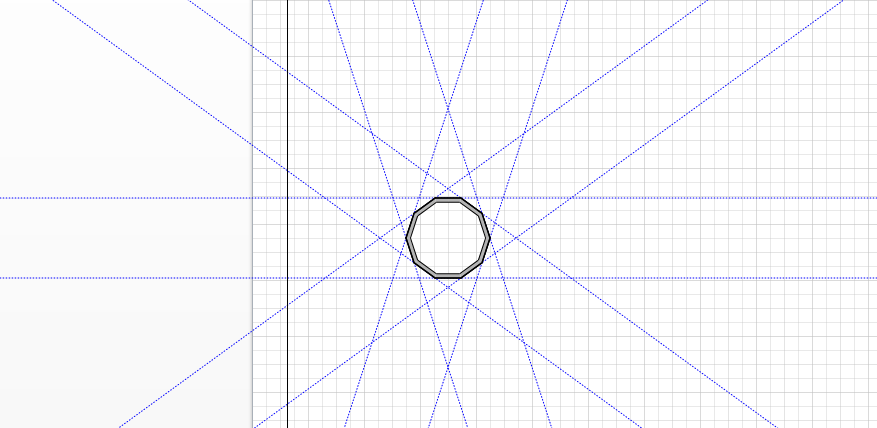
Add Guides
Select to add guides to new walls. Wall endpoints and dimension endpoints will be glued to the intersection of wall guides.
You can drag guides to resize the walls and spaces you create. Be sure to select this box if you plan on resizing spaces.
Original Geometry
The Original Geometry section allows you to set how the shape will appear.
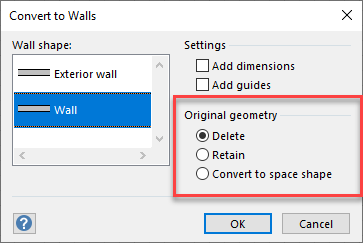
Delete
Click to delete the original shapes on conversion.
Convert To Space Shape
Click to create a space shape inside the area of the shapes that are being converted to walls. The original shapes are deleted.
Retain
Click to keep the original shapes on conversion. If you move a wall you will be able to see the lines underneath.
Adding Scaffolding to a Tank
Avontus Designer automates the process of adding scaffolds to the interior or exterior of a Tank, saving a great deal of time and effort. To learn how to do this, refer to Working with Circular Scaffolds.
Creating a Round Tank and Converting it to Walls
To begin the process of adding Scaffold Bays to a Tank, you must create the Tank and convert it to a series of walls.
You can also create a Working with Circular Scaffolds.
To create a Tank and convert it to walls.
- Click and drag the Tank object onto the Drawing Page.
The Shape Data dialog appears. - Click in the Outside Diameter text field and enter the new diameter for the Tank.
- Click in the Thickness text field and enter the Tank's new thickness.
- Click in the Height text field and enter the Tank's new height.
- Click OK.
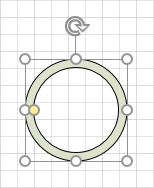
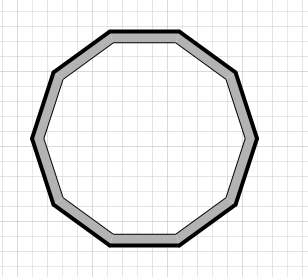
 Avontus Designer creates the Tank on the Drawing Page.
- Select the Tank, click the Drawing tab and then click Polygon Wall.
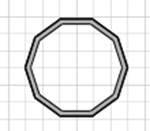
The Polygon Wall dialog appears. - Click in the Number of Sides text field and enter the number of straight walls that will replace the circle.
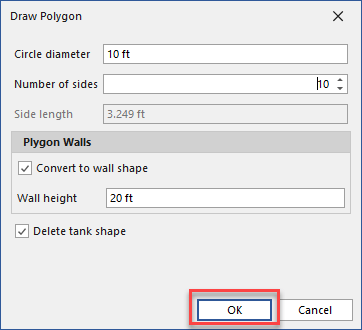
- Click OK.
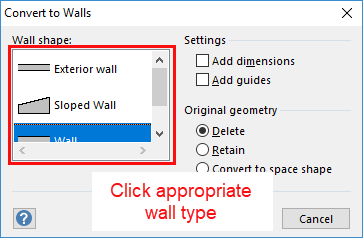
The Convert to Walls dialog appears. - As necessary, click the appropriate wall type, to highlight it.
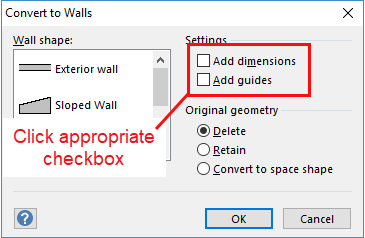
- Click the appropriate Settings checkbox (to put a check in it. Your options are Add Dimensions and Add Guides.
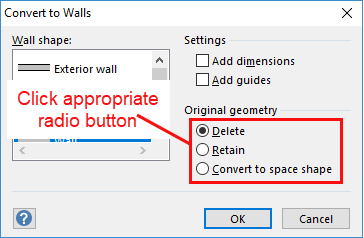
- Click the appropriate Original Geometry radio button (to put a check in it). Your options are Delete, Retain and Convert to Space Shape.
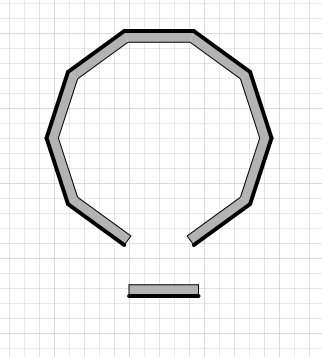
Avontus Designer converts the solid cylinder of the Tank into a series of straight walls.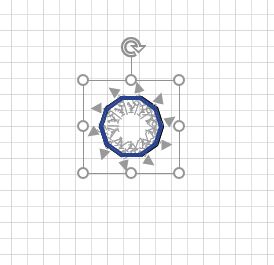
You are now ready to configure the Scaffolding and add it to the Tank.