Shipping and Logistics includes information on shipping, receiving and how to move equipment around your company. How to adjust inventory balances, manage out of service products and managing re-rent is also covered.
About the Shipping Tab
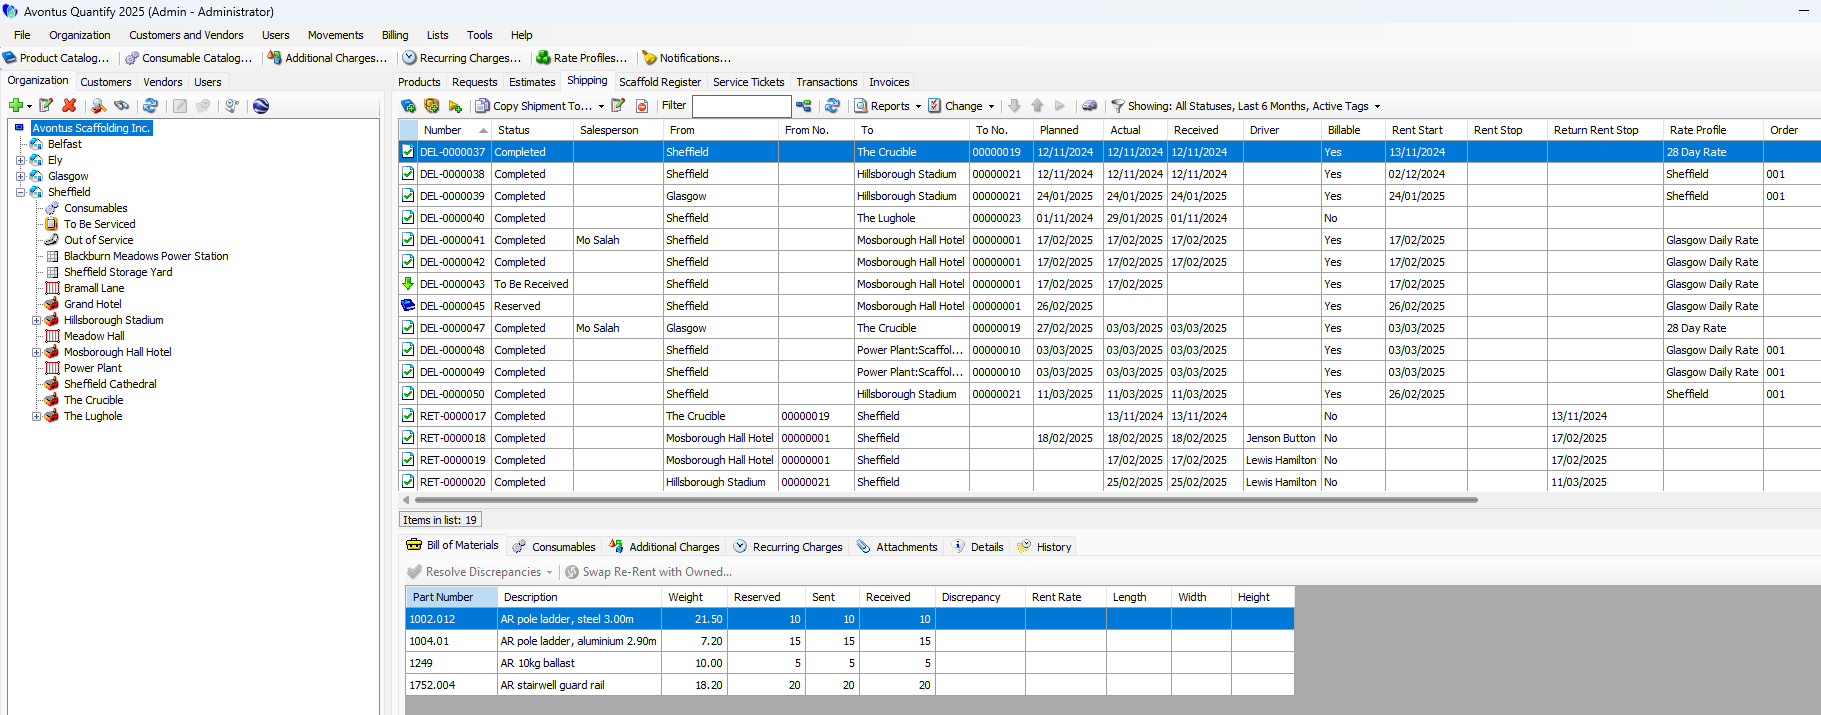
The Shipping tab displays the history of various types of shipments made to and from locations. The Shipping tab grid is focus-sensitive: it displays the history of shipments for the location selected in the Organization Tree. When you click a Branch Office, the Shipping tab grid displays the shipping history for Shipments to and from that Branch Office. When you click a Job Site, the Shipping tab grid displays the shipping history for just that Job Site.
Note: To see Shipments to/from inactive Job Sites when focused on a stocking location (such as a Branch Office), Inactive Job Sites must be included in the tree view through My Options.
The top table shows information about all the Shipments, Reservations and Returns in the tab and provides features for viewing and working with them, including:
Reports dropdown | The Reports dropdown provides access to:
|
Change dropdown | The Change dropdown enables you to change or update the Rate Profile of selected Shipments and change the Order number for a Scaffold (if the parent Job Site is not set to invoice a single Order). |
Receive/Send Selected Shipment buttons | The Receive Selected Shipment button ( The Send Selected Shipment button ( |
Count Materials for Selected Pre-Return Shipment button | The Count Materials for Selected Pre-Return Shipment button ( |
Drivers button | The Drivers button ( |
Filter Dropdown | The Filter dropdown enables you to filter the Estimates tab by Estimate status:
|
The bottom area shows details about the selected Shipment, including:
Bill of Materials tab | The Bill of Materials tab displays the Bill of Materials for the selected Shipment. |
Consumables tab | The Consumables displays a list of Consumables associated with the selected Shipment. |
Additional Charges tab | The Additional Charges displays a list of Additional Charges associated with the selected Shipment. |
Recurring Charges tab | The Recurring Charges displays a list of Recurring Charges associated with the selected Shipment. |
Attachments tab | The Attachments tab displays any items attached to the Estimate and enables you to attach new items. |
Details tab | The Details tab displays the date the Shipment was created, who created it and any notes associated with the Shipment. |
History Tab | The History tab displays a list of all changes made to the Shipment and enables you to generate a History Pivot report for the selected Shipment or all Shipments. |
Shipment History
The History tab displays the Edit, Receive and Void history of selected Shipments.
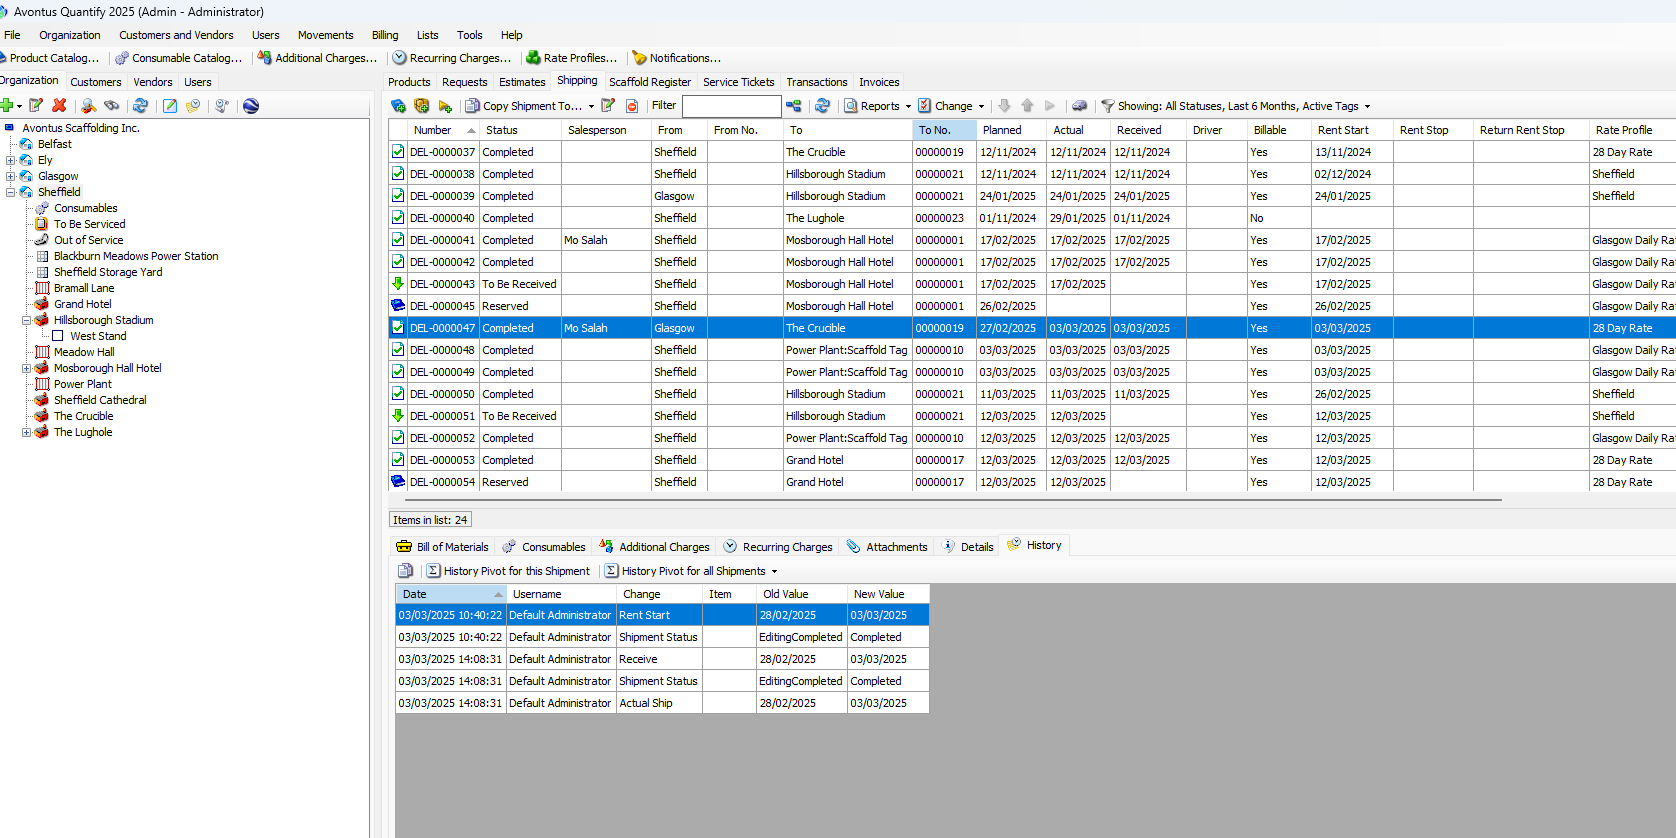
Each entry in the History tab shows:
Date | The Date column displays the date and time a shipment was edited. |
User Name | The User Name column displays the Quantify User who edited the shipment. |
Change | The Change column displays the type of change that was made to the shipment. |
Item | The Item column displays the item that was edited. |
Old Value | The Old Value columns displays original value for this item before the edit. |
New Value | The Net Value column displays the current or new value for the item after the edit. |