You can organize Products into categories, which you can use in multiple areas of Quantify, such as the Products tab, new Shipments, and Estimates, and help with Product grouping and filtering.
You can make two kinds of Product Category, parent or child of the selected Category. If you create a parent Category and later wish to make it a child Category, simply reorganize the Category tree by dragging the desired child onto a parent level.
Important: The procedures below only use the default required fields for a Product Category. Some accounting software packages require more information for successful integration. For example, some require that each Product Category have Rent GL codes, Sales GL codes and a Description assigned. If your company uses such a package, be sure to enter that information into the Additional Charge dialog.
To add a product category:
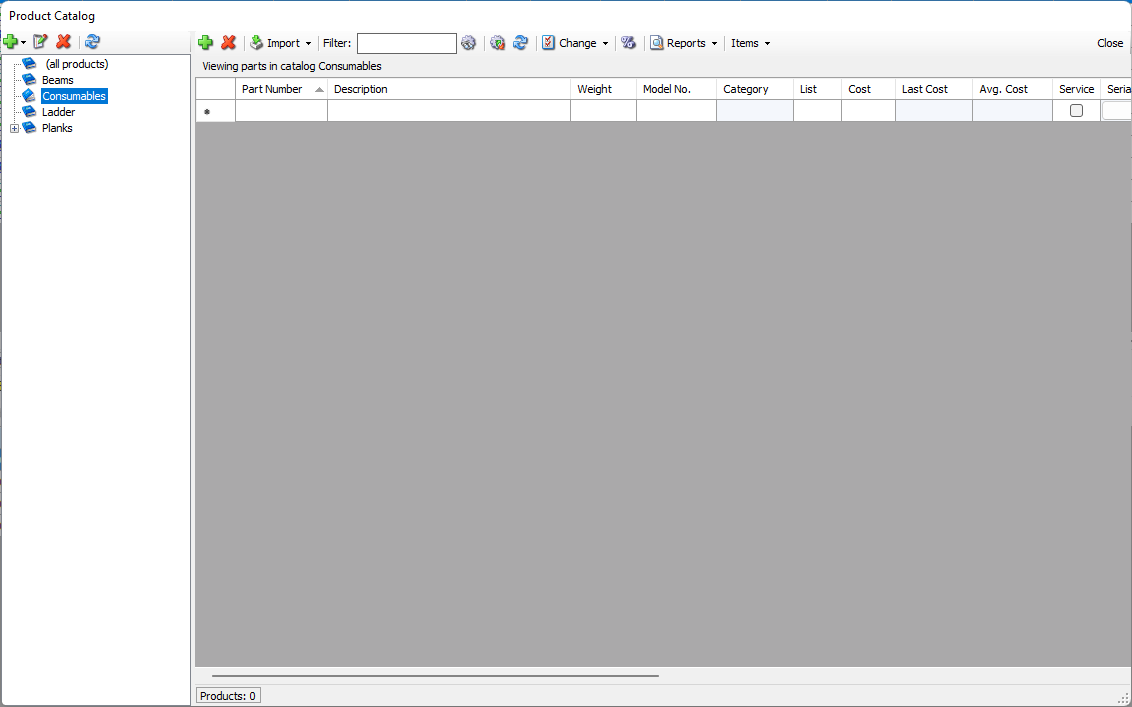
Click Product Catalog.
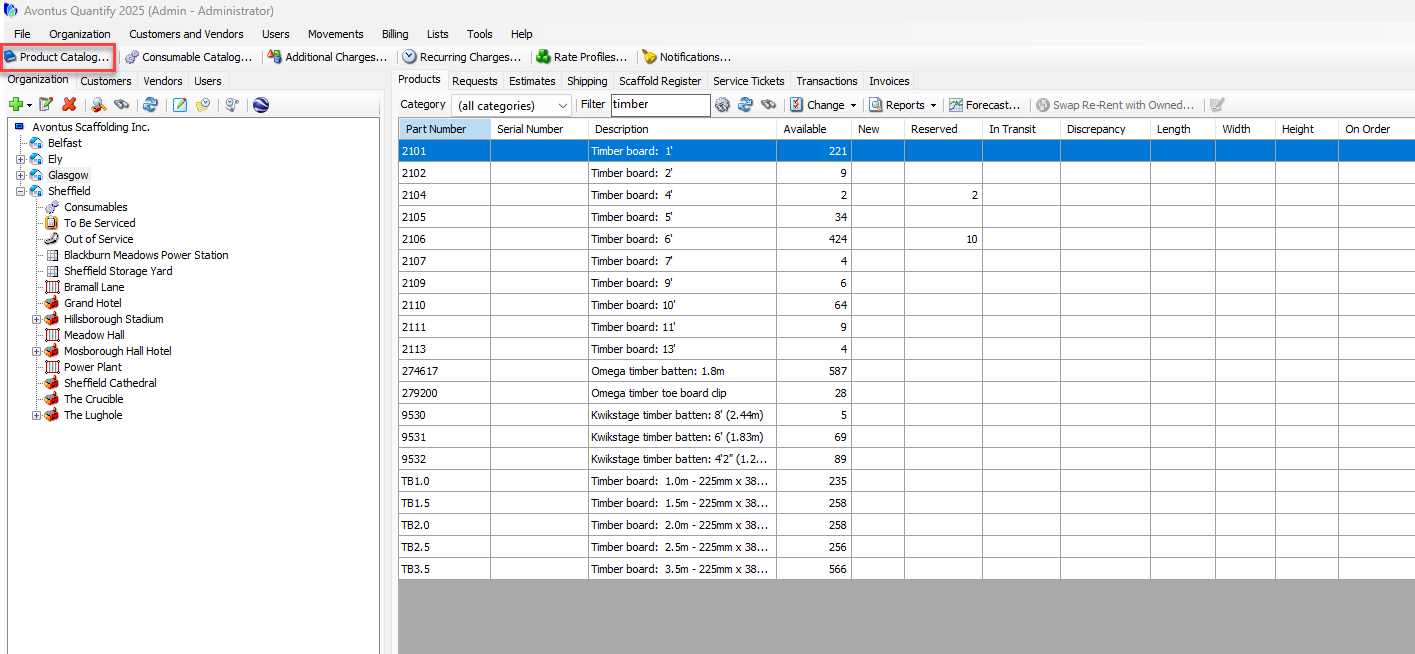
The Product Catalog appears.In the upper left of the Product Catalog, click the Add button (
 ) and select the appropriate type of category. Your options are: Parent Category and Child on selected category.
Note: A child category is a sub-category of a parent category

The Category dialog appears.
Click in the Name text field and enter the name of the new product category.
Enter any other information as necessary.
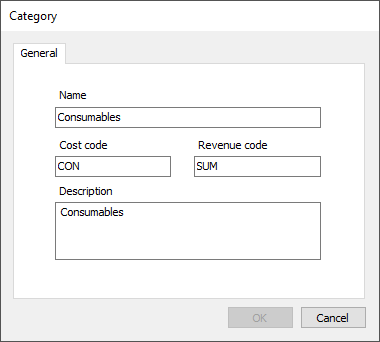
Click the OK button and the new Category will be added