The General tab enables you to configure general attributes of the Job Site.
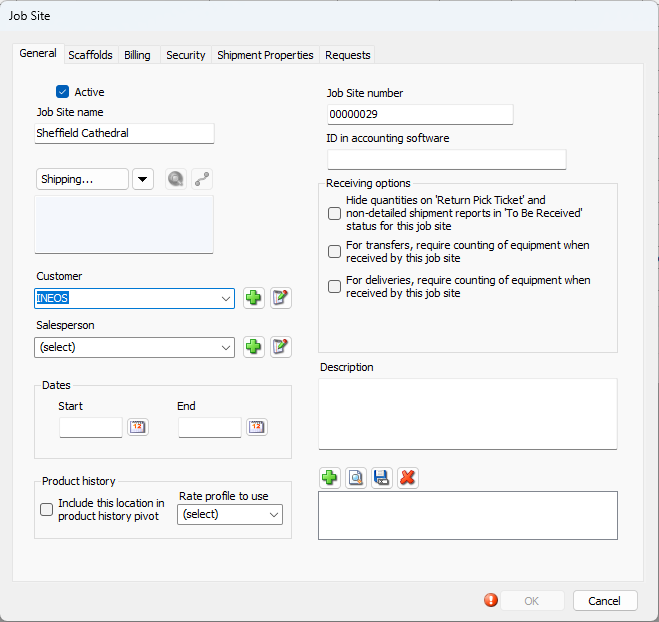
Use the information below to help you configure the General tab, then continue with the rest of the tabs, as necessary.
Active | When this checkbox is checked, the Job Site or Group is active. |
Job Site Name | Enter the name of the Job Site or Group into this text field. |
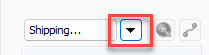
Shipping | When you click this button, the Shipping Address dialog appears. Note: Click the arrow icon to change to Billing or Business.
The address dialog will remain the same, regardless o the option selected.
Enter the appropriate shipping or billing street number and name in the Street text field. Enter the name of the shipping or billing city in the City text field. Select the appropriate state or province from the State/Province dropdown. Enter the appropriate zip code in the Zip/Postal Code text field. Select the appropriate county or Parish from the County/Parish dropdown. Enter the name of the appropriate country in the Country text field. If you want the Job Site to appears in the Map tab of Quantify Web, Enter the appropriate latitude in the Latitude text field. Enter the appropriate longitude in the Longitude text field. Enter the appropriate elevation in the Elevation text field |
Customer | Select the appropriate customer from the Customer dropdown, |
Salesperson | Select the appropriate salesperson from the drop-down |
Job Site number | Enter the number of the Job Site or Group into the Job Site number text field. |
ID in accounting software | If you use accounting software, like QuickBooks, enter the ID number with which the software will identify this Job Site. |
Description | Enter a description of the Job Site into the Description text field. |
Add Image | Click this button to add an attachment to the Job Site. |
View Image | Select an existing attachment and click this button to view the attachment. |
Save Image | Select an existing attachment and click this button to save the attachment onto your computer. |
Delete Image | Select an existing attachment and click this button to delete the attachment. |
.png)
Dates Section
Start | Use this date field to configure the start date for the Job Site. |
End | Use this date field to configure the end date for the Job Site. |
Product History
| Include this location in product history pivot | When this checkbox is checked, Quantify will include this Job Site in the Product History pivot report. |
| Rate profile to use | Select the Rate Profile to use with this Job Site from this dropdown. |
Receiving Options Section
Hide Quantities on ‘return Pick Ticket’ and non-detailed shipment reports ‘To Be Received’ status for this job site | When this checkbox is checked, Quantify hides quantities on specific reports for returns. The reports will show what was received, but not the quantities. |
For transfers, require counting of equipment when received by this job site | When this box is checked, transfer shipments go into in-transit mode and are not immediately moved to the Job Site or Group. A Quantify user must verify whether the amounts are accurate or not and complete the shipment. |
For deliveries, require counting of equipment when received by this job site | When this box is checked, delivery shipments go into in-transit mode and are not immediately moved to the Job Site or Group. A Quantify user must verify whether the amounts are accurate or not and complete the shipment. |