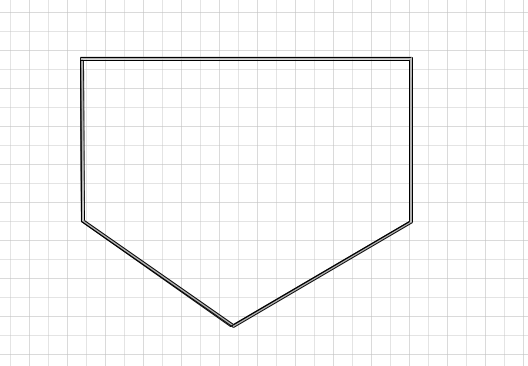
You can convert lines added to the Drawing Page into Walls. Once converted, these Walls can be used for rendering in the 3D views and/or with the Working with Wall Scaffolds feature. Lines can be added to a drawing using the Line tool located in the Drawing tab, or through object imports such as CAD Drawings.
To convert lines to Walls:
- Select the line(s) you want to convert.
- Click the Drawing tab and click Convert to Walls in the Plan group.

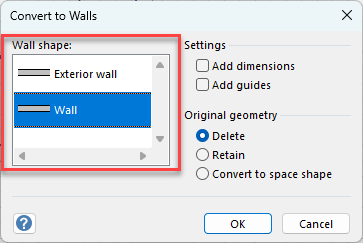
The Convert to Walls dialog appears. - Click the appropriate wall shape in the Wall Shapearea. Your options are:
Exterior Wall This is a thicker Wall, commonly used for exterior Walls. 200mm. (Metric Units) / 9 in. (US Units) default thickness.
Wall This is a standard Wall. 150mm. (Metric Units) / 6 in. (US Units) default thickness.
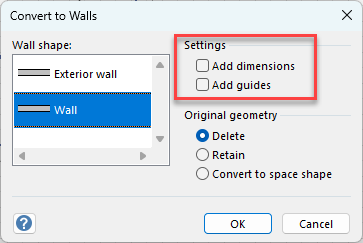
- Click the appropriate checkbox(es) in the Settingsarea. Your options are:
Add Dimensions This option will add the Controller Dimension to each Wall, displaying the Wall length on the page
Add Guides This option will add Guides to the page at the original position of each line
- Click the appropriate Original Geometry radio button. Your options are:
Delete Deletes the selected line(s), leaving just the Wall(s) on the page.
Retain Keeps the selected line(s) with the Wall(s) on the page.
Convert to Space Shape Keeps the selected line(s) with the Wall(s) on the page. Calculates total square area of an enclosed shape and displays the area and shape name on the page.The Line(s) will be used as a guide for the Right side of the Wall(s) on the Drawing Page. Wall dimensions and justification can be edited through Shape Data.

- Click OK.
Avontus Designer converts the lines to Walls.