Various ribbons and tabs are available in Microsoft Visio. You can find the features and tools specifically for Avontus Designer in the Scaffold tab. For complete details about features in the Visio tabs, refer to the help files for Microsoft Visio.
Start Tab
In the Home Tab, you can create new drawings.
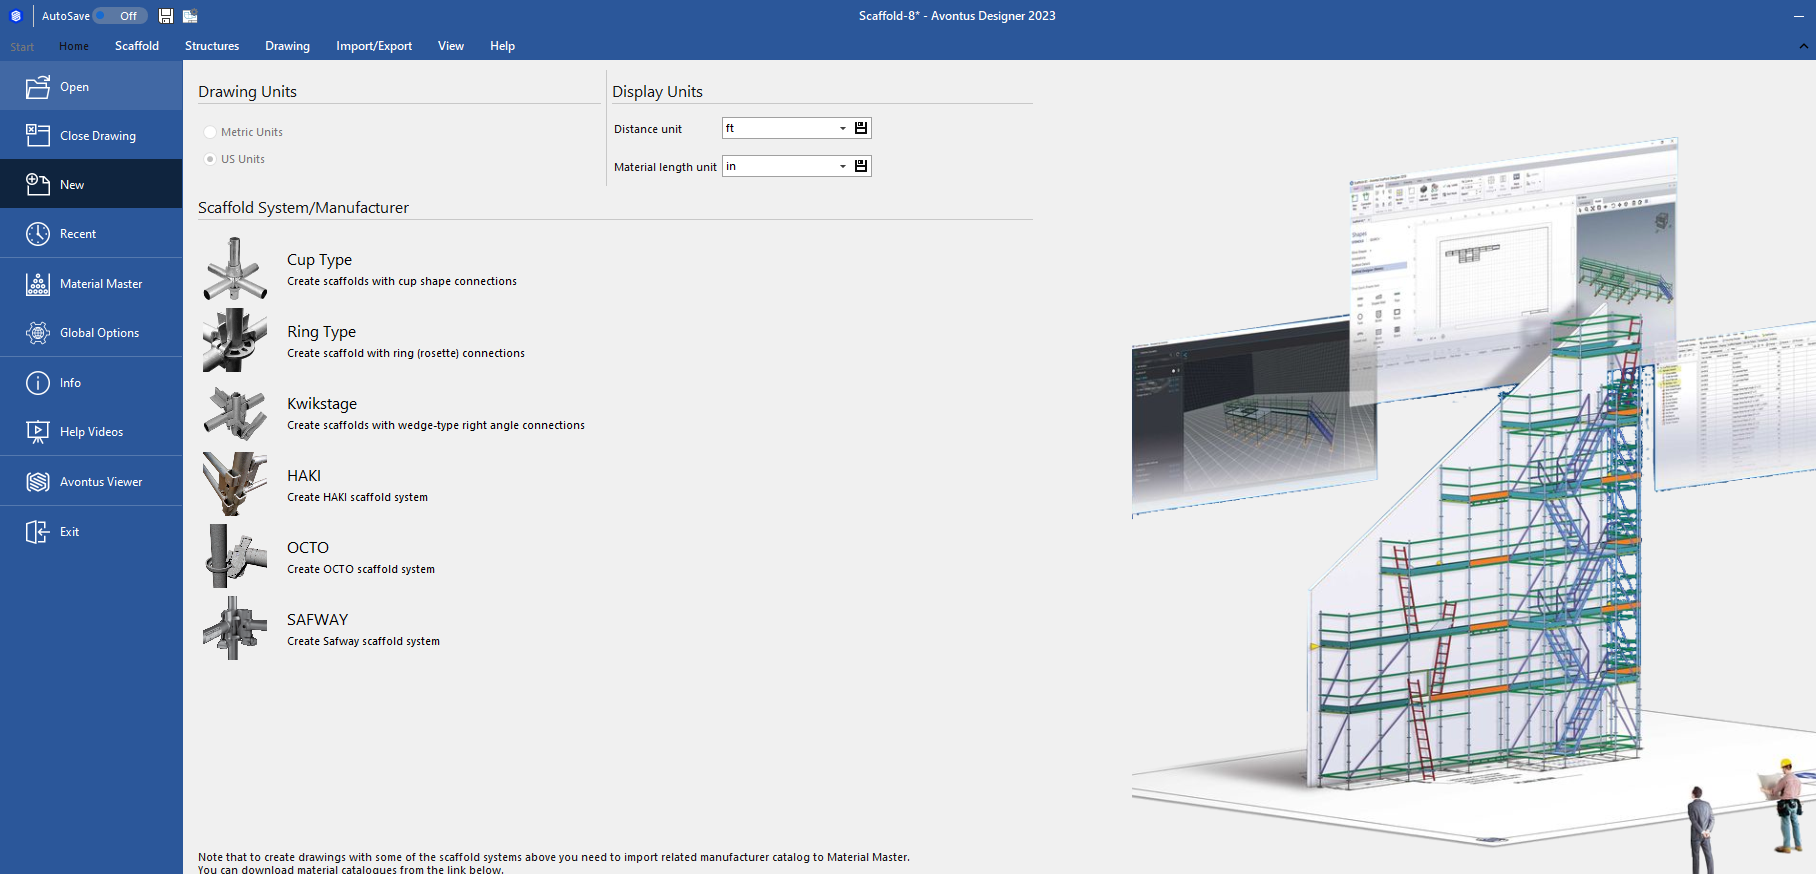
For more information, please see Backstage.
The Home Tab
In the Home Tab, you can find basic controls for Avontus Designer, such as the save option, Drawing Options and the ability to view the Bill of Materials

Save | Save the drawing |
Close | Close the drawing |
Email the drawing in PDF or designer format | |
Print Drawing | Print the drawing |
Print and Options | Page Set up - Modify the page such as the page size and drawing Scale Title - Modify the title block in the bottom right corner Visio Options - Modify the vision options |
Drawing Options | Modify the Drawing Options, such as the Bay Level and Bay Vertical Settings. This is similar to the Glbaal Drawing options, but this will only impact the open drawing. For more information, please see Drawing Options |
Clipboard | Cut, copy and paste the selected parts |
Bill of Materials | Select to view the Bill of Materials for the open drawing. |
Undo/Redo/group | Undo or redo your changes. |
Group | Select to Groupor ungroup the selected items |
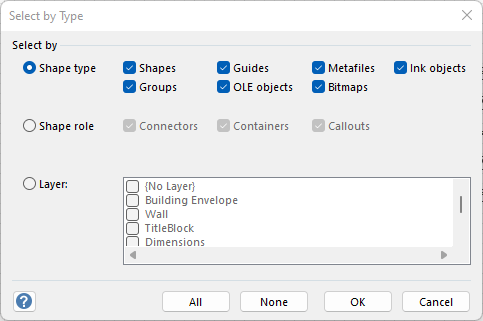
Select | Select objects in various different ways including: Pointer - Select individual objects or multiple objects Select All - Select all objects on the design page Select by type - select shapes by their type, role layer they are assigned to
Area/Lasso - select how you wish to select multiple shapes or objects Select all Bay Shapes - Select all Bay Shapes Select all Building Shapes Select all Building Shapes - These include Walls, popes, beams, etc Select Other Shapes - Select all other shapes that aren't bays or building shapes |
Drawing | Rectangle - Select to draw a rectangle shape Ellipse - Select to draw an Ellipse shape Line- Select to draw a line shape Freeform - Select to draw a freeform shape Arc - Select to draw an Arc shape Connector - Select to draw a Connector Shapes |
Format | Fill - Change the colour of the object Line - Change the line size of the object Text - Modify text within an object |
Position | Align Shapes - Align shapes by the left, center, right, top, middle or bottom Space Shapes - Space the shapes either horizontally or vertically so that they are equal distant apart. Rotate Shapes - Select to rotate shapes 90 degrees either left or right or select to flip them horizontally or vertically Bring to Front - Bring an object to the front so it will be on top of any images Send to Back - Bring an object to the back so that will be placed behind any images |
The Scaffold Tab

For more information, refer to The Scaffold Ribbon.
The Structures Tab
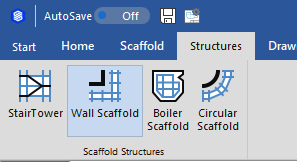
This tab provides features such as:
| Click the Stair Tower icon and drag the item onto a Drawing Page. When the Scaffold Stair Tower dialog appears, use it to determine Stair Tower's properties. Once you configure those and click OK, Avontus Designer adds the Stair Tower, configured to your specifications. | |
| Select the Walls around which you want to place Scaffolding and click the Wall Scaffold icon. When the Wall Scaffold dialog appears, use it to determine Scaffold's properties. Once you configure those and click OK, Avontus Designer adds the Scaffolds, configured to your specifications. | |
| This tool enables you to add Scaffolding to and edit Scaffolding in existing boilers. Select the appropriate boiler and click the Boiler Scaffold icon. When the Boiler Scaffold dialog appears, use the appropriate tabs to configure the Scaffolding. When you click Build Scaffold, Avontus Designer creates or adjusts the Scaffolding as configured. | |
| Add Circular Scaffold | This tool enables you to add Scaffolding around and within Tanks. Select the appropriate Tank and click the Circular Scaffold button. When the Circular Scaffold dialog appears, configure the Scaffolding for the Tank and click OK. Avontus Designer calculates and draws the Scaffolding as configured. |
The Drawing Tab

This tab provides features such as:
| Select | Select objects in various different ways including: Pointer - Select individual objects or multiple objects Select All - Select all objects on the design page Select by type - select shapes by their type, role layer they are assigned to
Area/Lasso - select how you wish to select multiple shapes or objects Select all Bay Shapes - Select all Bay Shapes Select all Building Shapes Select all Building Shapes - These include Walls, popes, beams, etc Select Other Shapes - Select all other shapes that aren't bays or building shapes |
| Draw | |
| Rectangle | Select to draw a rectangle shape |
| Ellipse | Select to draw an Ellipse shape |
| Line | Select to draw a line shape |
| Freeform | Select to draw a freeform shape |
| Arc | Select to draw an Arc shape |
| Connector | Select to draw a Connector Shapes |
| Edit | |
| Building Objects | When shapes are grouped, they became Building Objects. Click this to modify the select Building Object |
| Find | Find/Find and replace any text, shape data, shape data, or shape name in one click. |
| Operations | Modify building objects |
| Layers | Use layers to organize related shapes on the Drawing Page. You can assign shapes to different layers, to selectively view, print, color, and lock different categories of shapes, as well as control whether you can snap to or glue to shapes on a layer. |
| Insert Image | Insert an image into your plan |
| Edit image | Edit the selected image. With Edit Image you can scale the image, adjusting its width, height and angle. |
| Crop tool | Crop the selected image |
| Text | |
| Field | Modifies the default options |
| Screen tip | Modifies the text that appears when you hover the cursor over an object |
| Text | Add a textbox to your design |
| Spelling | Checking the spelling of your design |
| Hyperlink | Use an object as a link. |
| Format | |
| Fill | Change the colour of the object |
| Line | Change the line size of the object |
| Text | Modify text within an object |
| Plan | |
| This tool enables you to convert lines you have added to a drawing into Walls. Once converted, these Walls can be used for rendering in the 3D views and/or configured with the Wall Scaffold dialog. Click the line you want to convert and click the Convert to Walls icon. When the Convert to Walls dialog appears, configure the Walls and click OK. Avontus Designer displays the Walls as configured. | |
| This tool enables you to convert the round shape of a Tank to polygon with straight Walls. Select the Tank you want to convert, then click Polygon Wall icon. When the Polygon Walls dialog appears, configure the polygon and click OK. Avontus Designer converts the circular Tank as configured. | |
| Arrange | |
| Align Shapes | Align shapes by the left, center, right, top, middle or bottom |
| Space Shapes | Space the shapes either horizontally or vertically so that they are equal distant apart. |
| Rotate Shapes | Select to rotate shapes 90 degrees either left or right or select to flip them horizontally or vertically |
| Bring to Front | Bring an object to the front so that it will be placd on top of any images |
| Send to Back | S an object to the back so that will be placed behind any images |
| Group | Group any select objects together, so they move as one |
The Import/Export Tab
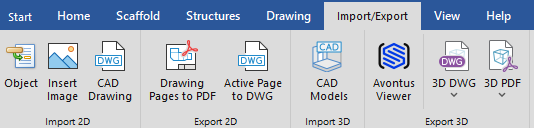
This tab provides features such as:
Import objects, images and CAD drawings
Export drawings in 2D and 3D
| Import 2D | |
| Object | Import an object |
| Image | Import an image such as a floor plan |
| CAD drawing | Import a CAD drawing |
| Export 2D | |
| Drawing Pages to PDF | Export the drawing Pages to PDF |
| Active Page to DWG | Export the active page to DWG |
| Import 3D | |
| CAD Models | Import a 3D CAD Model, please see Importing 3D CAD Drawings for more information. |
| Export 3D | |
| Avontus Viewer | Export your model to Avontus Viewer |
| 3D DWG | Export the Conceptual or Model view to 3D DWG |
| 3D PDF | Export the Conceptual or Model view to 3D PDF |
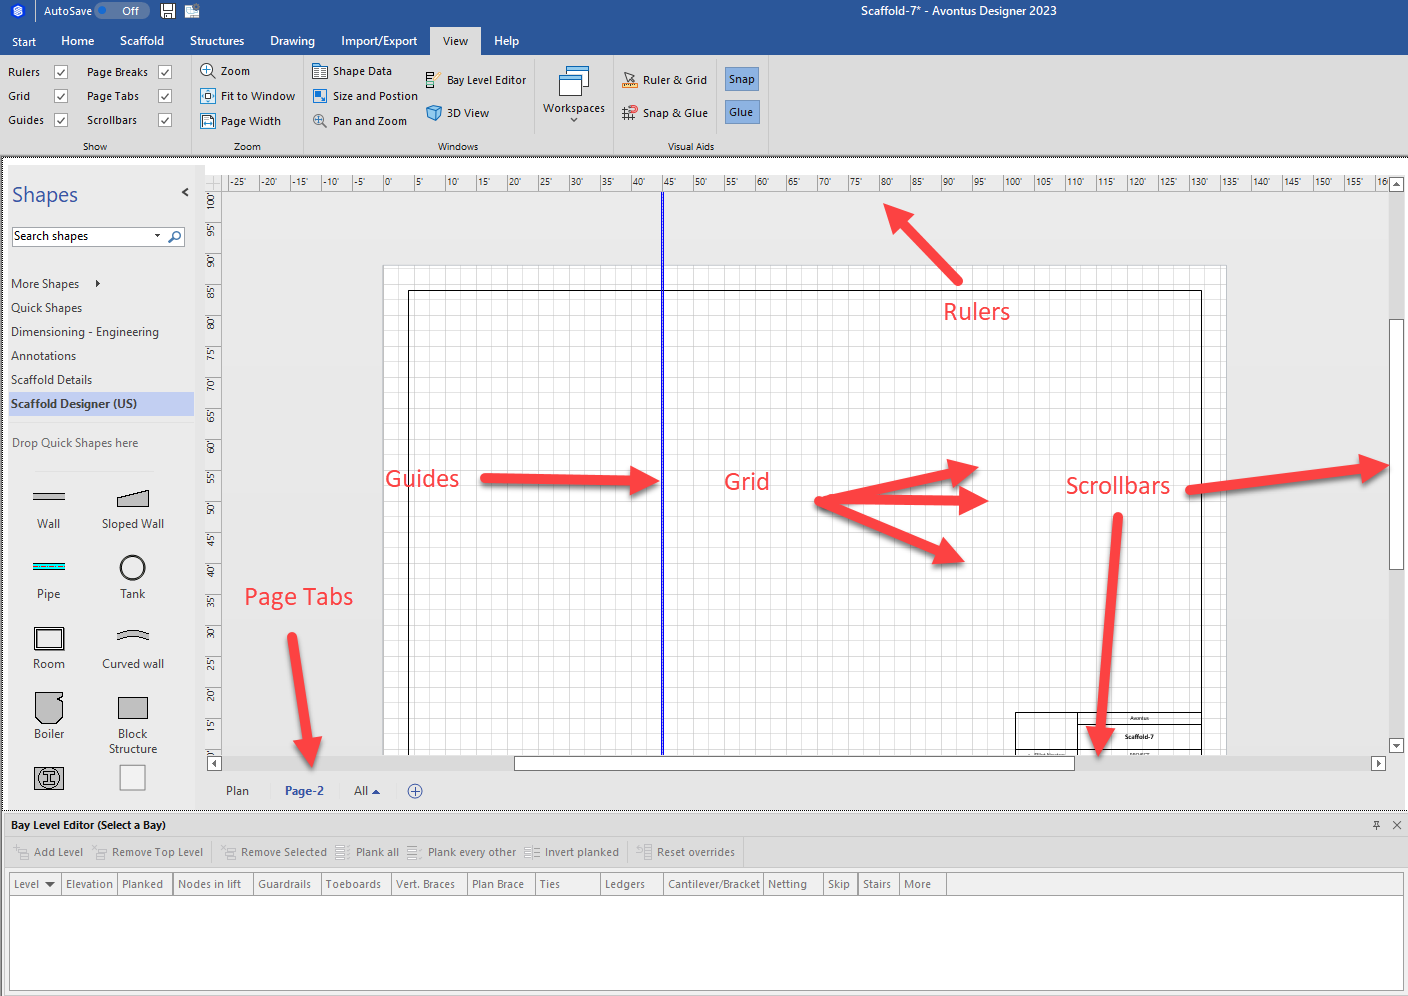
The View Tab

This tab provides features such as:
| Show | |
| Rulers | This tool enables you to enable/disable Rulers |
| Grid | This tool enables or enable-disable the Grid |
| Guides | This tool enables or disables the Guides |
| Page Breaks | This tool enables or disables the Page Breaks |
| Page Tabs | This tool enables or disables the Page Tabs |
| Scroll Bars | This tool enables or disables the Scroll Bars |
 | |
| Zoom | |
| Zoom | This tool enables you to zoom into or out of the current Drawing Page. When you click Zoom, Avontus Designer displays the Zoom dialog, which enables you to select the pre-configured magnification for the page. You can also enter a custom magnification. |
| Fit to Window | This tool enables you to fit the current Drawing Page to the current window display size. If the drawing has been zoomed out, Avontus Designer will zoom it in to fit the display size. It is zoomed in, Avontus Designer will zoom it out to fit the display size. |
| Page Width | This tool enables you to fit the current Drawing Page to the full width of the current window display size. |
| Windows | |
| This tool enables you to show or hide the Shapes pane, with which you can select and add shapes to a drawing. For more information about the Shapes pane, refer to Viewing Drawing Page Tools. | |
| This tool enables you to show or hide the Shape Data popup, in which you can configure a selected shape's characteristics: length, thickness, base elevation, height, etc. Click the appropriate drawing shape then click Shape Data. Depending on what you selected, the Shape Data popup provides text fields that enable you to change the information it contains. | |
| Size and Position | This tool enables you to show or hide the Size and Position popup, in which you can configure a selected shape's size and position characteristics: beginning and ending coordinates, length, angle, height, etc. Click the appropriate drawing shape then click Size and Position. Depending on what you selected, the Size & Position popup provides text fields that enable you to change the information it contains. |
| Pan and Zoom | This tool enables you to show or hide the Pan & Zoom pane. For more information about the Pan & Zoom pane, refer to Viewing Drawing Page Tools. |
| This tool enables you to show or hide the Bay Level Editor dialog, with which you can configure the settings and controls for a selected Bay, level-by-level. Select the appropriate Bay and click Bay Level Editor. Avontus Designer displays the Bay Level Editor dialog, containing the details and settings for the Bay. For more information about the Bay Level Editor, refer to About the Bay-Level Editor. | |
| This tool enables you to show or hide the 3D View dialog. Click the 3D View icon to show or hide the dialog. For more information about the 3D View pane, refer to About the 3D View Pane. | |
| Visual Aids | |
| Workspaces | This tool enables you to modify and capture your Avontus Designer layout which can be tailored to your preferences. For example, if you are using two monitors you can display the 3D view one on monitor whilst working on the drawing page on the other. |
| Ruler & Grid | This tool enables you to configure the characteristics of the rulers and the grid that Avontus Designer displays. When you click this icon, Avontus Designer displays the Ruler & Grid dialog, which you can use to customize the display. To learn more about the Grid, refer to Getting Started with Avontus Designer. |
| Snap & Glue | This tool enables you to configure how Avontus Designer treats the placement and connection of drawing items. To learn more about snapping and gluing, refer to Getting Started with Avontus Designer. |
| Snap | This tool enables you to turn snapping on and off. To learn more about snapping, refer to Getting Started with Avontus Designer. |
| Glue | This tool enables you to turn gluing on and off. To learn more about gluing, refer to Getting Started with Avontus Designer. |
The Help Tab
The Help ribbon provides quick access to tools for learning about Avontus Designer and troubleshooting issues you may encounter.
Note: For help with the Microsoft Visio functions that Avontus Designer uses, refer to the Microsoft Visio Help Center.
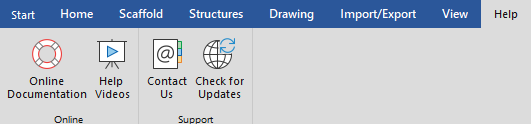
| Online | |
| Online Documentation | Click the Online Documentation icon to access the Avontus Designer online help home page via your default web browser. |
| Help Videos | Click the Help Videos icon to access the Avontus Assist Avontus Designer Help Videos page via your default web browser. |
| Support | |
| Contact Us | Click the Contact Us icon to open a new email message addressed to Avontus Software Support (support@avontus.com). |
| Check for Updates | Click the Check for Updates icon to check for updates to Avontus Designer. |