You create and manage user accounts through the Users tab.
Creating a New User Account
You create and maintain User accounts through the Users tab.
To create a user account:
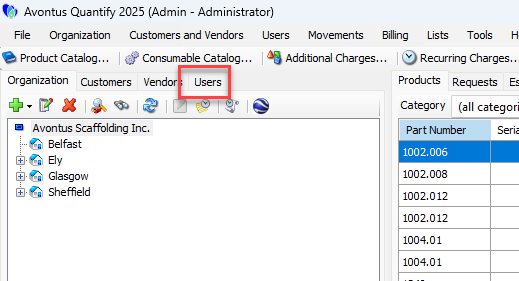
Click the Users tab and click the Add button.
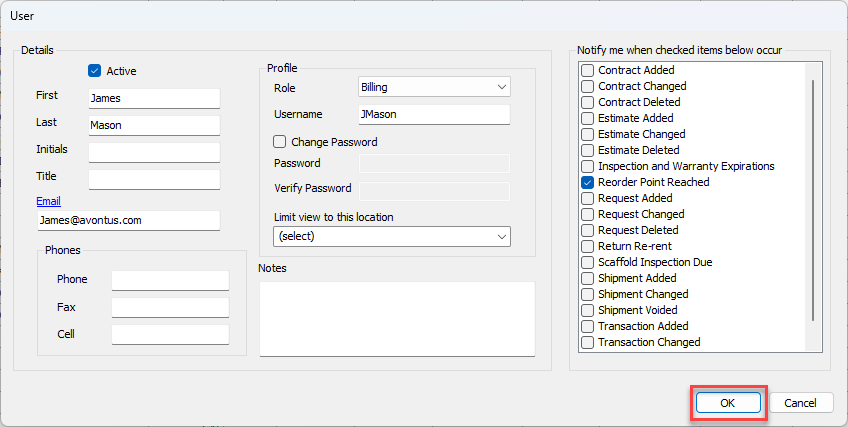
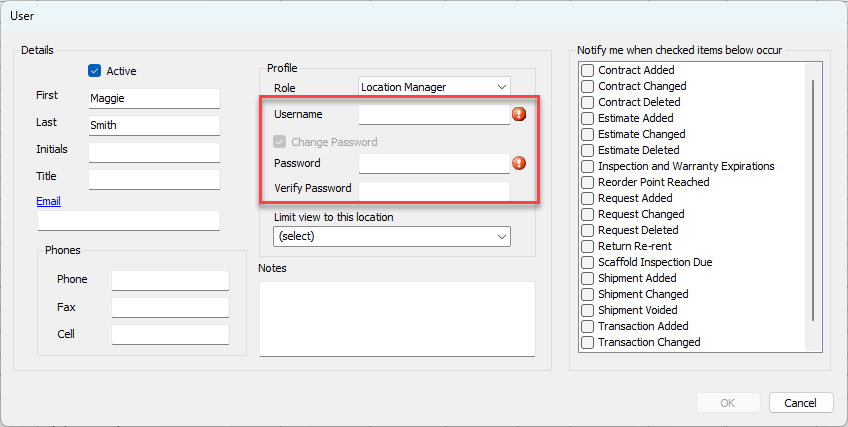
The User dialog appears.Note: The next six procedures are required.
Click in the First text field and enter the user's first name.
Click in the Last text field and enter the user's last name.
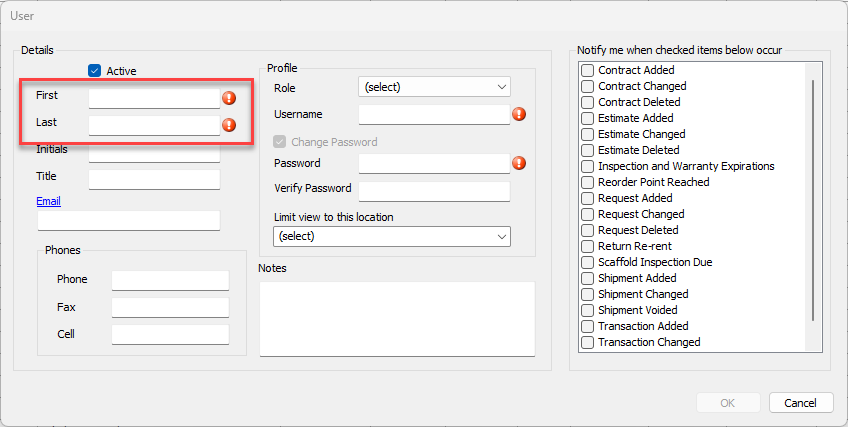
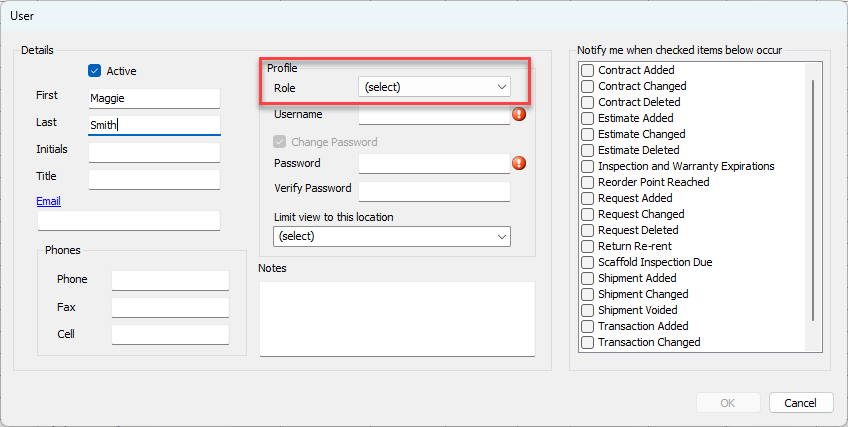
Click the Role dropdown and select the appropriate role for this user.
Click in the Username text field and enter a username for the account.
Note: If you enter an email as your username, you will be able to log in using a Microsoft Entra ID login. Please see Registering a Domain for more information.
Click in the Password text field and enter a password for the account.
Click in the Verify Password text field and re-enter the password.
The user name must be unique to the database.
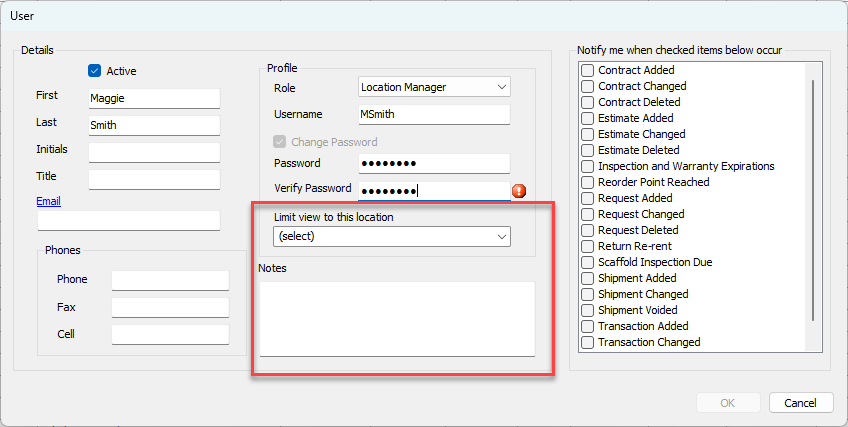
As necessary (these three procedures are not required):Click the Limit View to this Location dropdown and select the appropriate location, to only allow the new user to view information for the location you select.
If you do not select a Branch Office, the user will be able to view all locations.Click in the Notes text field and enter notes as needed.
Click the checkbox beside any notifications this user should receive (to put a check in these checkboxes).
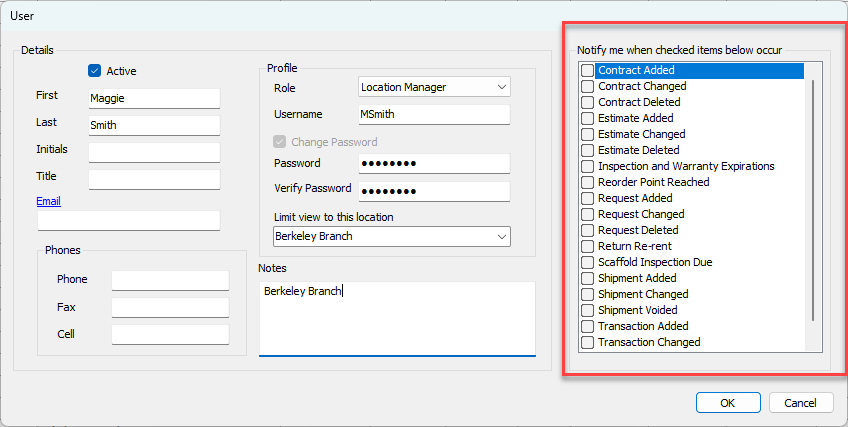
Click OK.
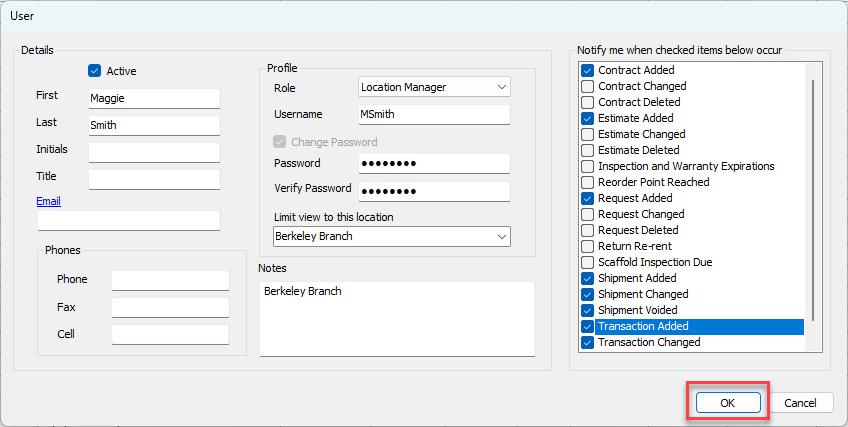
Quantify adds the user to the list of users.
Creating a Custom Role
Quantify comes with three undefined, custom roles. To customize a custom role, use the Roles dialog to edit one of those roles to suit your requirements.
To create a custom role:
Click the Users tab, then click the Security dropdown and select Edit Permissions.
.gif)
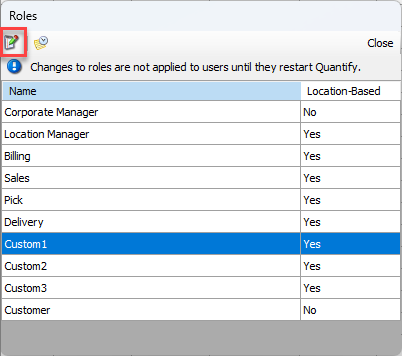
The Roles dialog appears.Note: In the procedures below, you edit Custom1 to create a new customized role.
Click Custom1 and then click the Edit button.
Note: You can also double-click the role to open it
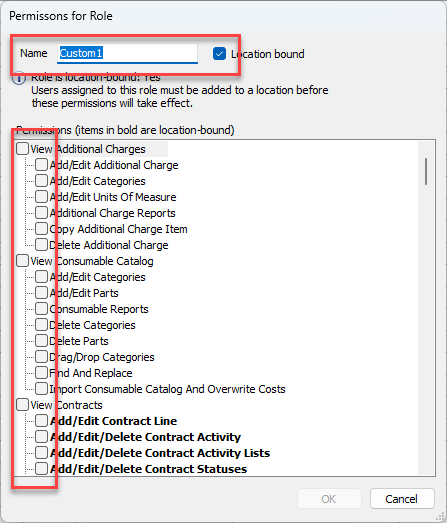
The Permissions for Role dialog appears.
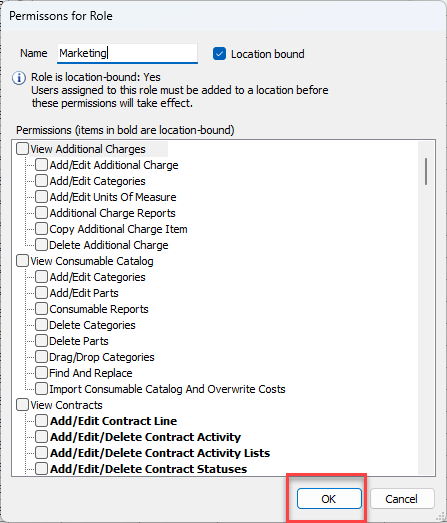
Click in the Name text field and enter the name for the new role.
Click the checkbox to the left of each appropriate permission, to put a check in it/them.
Click OK.
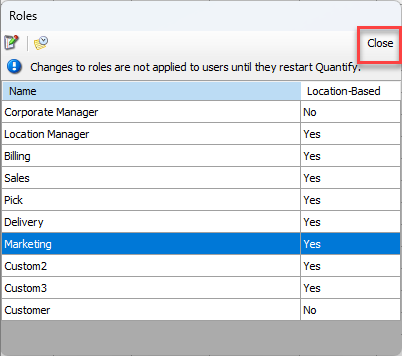
The Roles dialog returns, displaying the new role.Click Close.
Deactivating and Reactivating a User
While users cannot be deleted from Quantify, they can be deactivated. This removes their ability to log in to Quantify. Use the following instructions to deactivate or reactivate your team members in Quantify.
Deactivating a User
To deactivate a User:
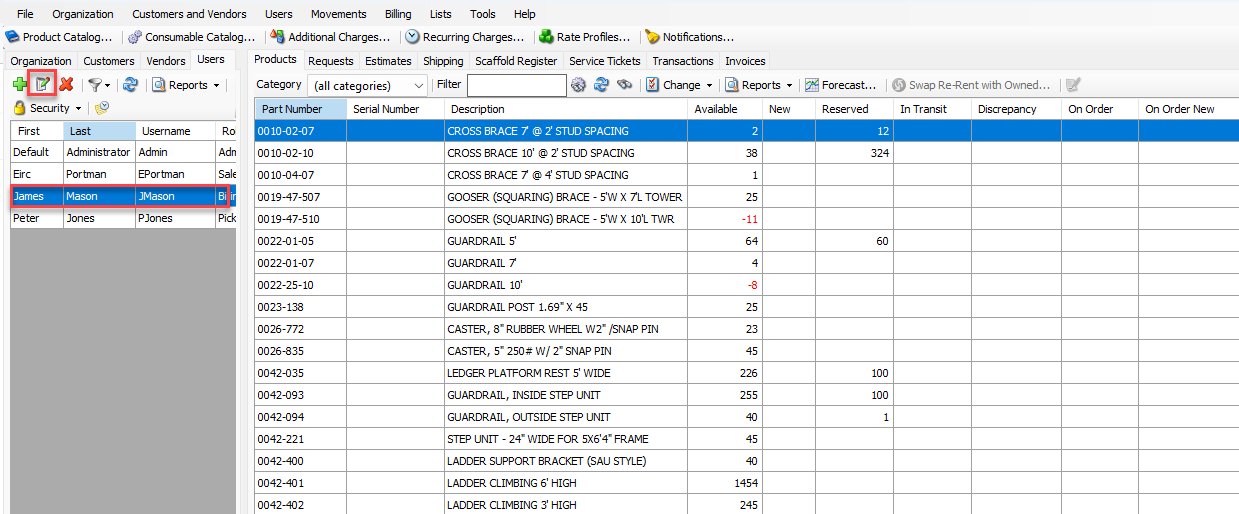
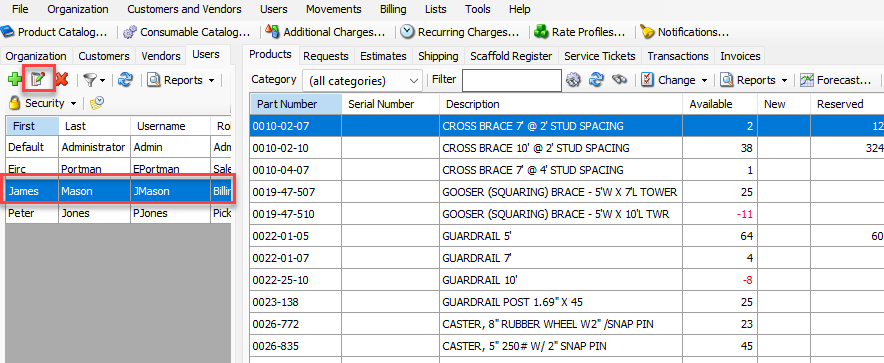
Click the Users tab
Click the name of the user to be deactivated and click the edit (
 ) button.
Note: You can also double-click the name of the user to be deactivated.
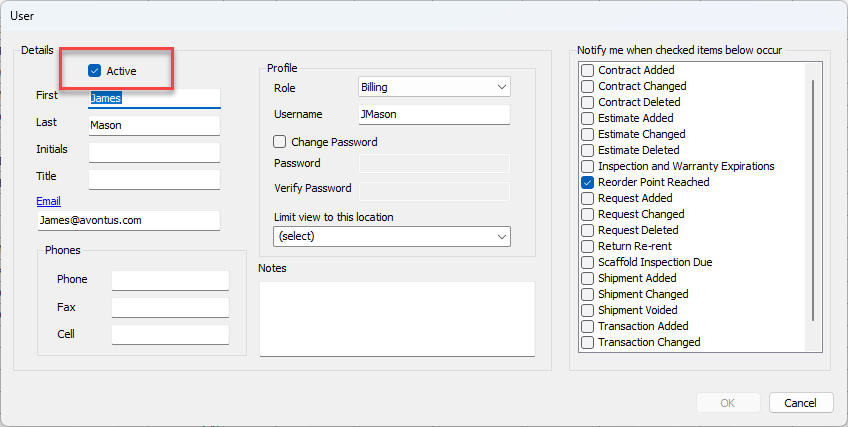
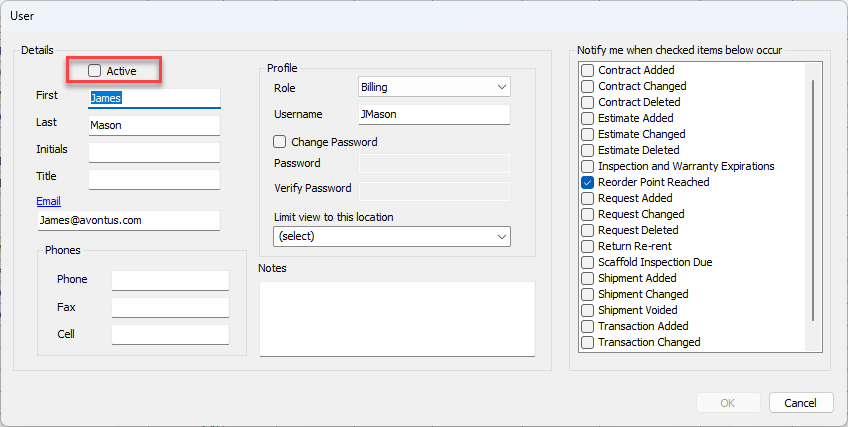
The User dialog appears.
In the Details section, click the Active checkbox, to remove its check.
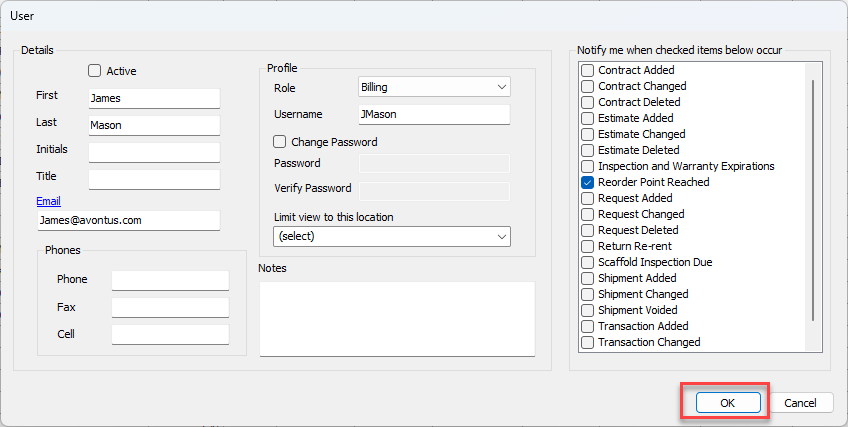
Click OK.
Reactivating a User
Reactivating a user that had been deactivated will allow them to log in to Quantify with their previous login and password.
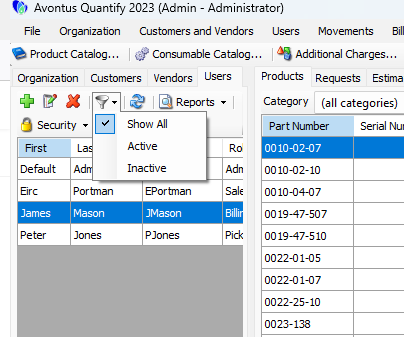
Click the Users tab

Ensure Inactive users are visible
Click the name of the user to be deactivated and click the edit (
) button.Note: You can also double-click the name of the user to be reactivated.
In the Details section, click the Active checkbox, to put a check in it.
Click OK.