The following instructions detail how to move your Quantify database to a new server.
Important: You should only move a database when replacing or changing the hosting server. Always contact Avontus Support before changing server or other database hosting information.
Install SQL Server on the New Server
These steps can be completed without requiring users to log out of the database.
To install SQL Server on the new server:
Install SQL Server on the new server.
This should be the same version of SQL server (or greater) that is installed on your current server. For our basic step by step instructions for this step, refer to step 2: Install SQL Server 2017 Express.Install Quantify and Quantify's Database Tools on the new server.
Note: This is not a requirement
For complete instructions for this step, refer to Installing Quantify. It is recommended that you update your current installation of Quantify to the most current version before completing the next steps. To see if you have the most current version installed, login to Quantify, click the Help menu and select About.Launch Quantify Database Tools and create a new database as detailed in Step 6: Create a Blank Database.
This sets the appropriate permissions for the restore of the actual database.In Quantify Database Tools, click Delete and delete the database that was created in the previous step. You are now ready to restore.
Using Quantify's Database (DB) Tools to Back Up a Database
Quantify's Database Tools makes creating database backups simple and easy. You can use this utility on any machine that hosts SQL Server and the Quantify database. These steps require users to log out of Quantify to ensure data is not entered in the database after a backup is created for the migration.
For assistance with these steps, refer to the Microsoft help files for your version of SQL Server, such as http://technet.microsoft.com/en-us/library/586561fc-dfbb-4842-84f8-204a9100a534
To back up a database:
Click the Start menu, then locate and select Database Tools for SQL from the Quantify sub-menu.
The Quantify Database Tools dialog appears.Click Backup.

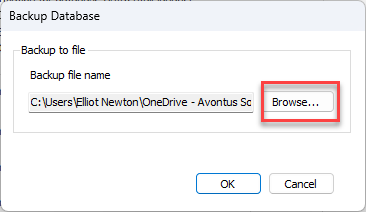
The Backup Database dialog appears.Click Browse.
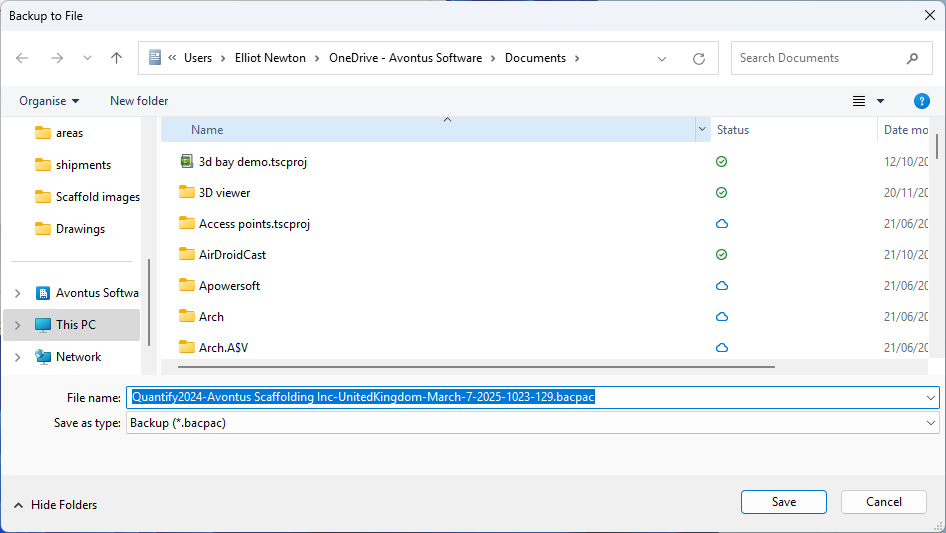
The Backup to File dialog appears.Navigate to the directory into which you want to save the backup file and click Save.
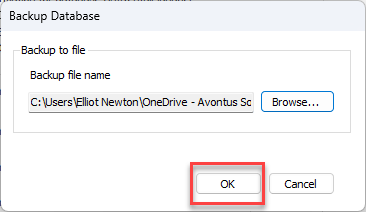
The Backup Database dialog returns.Click OK.
When the backup is complete, a confirmation dialog appears.
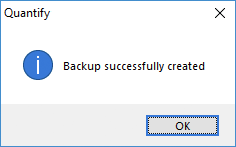
Click OK.
The Quantify Database Tools dialog returns.Click Close.
To send a database to Avontus support see Sending a Database to Avontus Support.
Restoring the Existing Database
To restore the existing database:
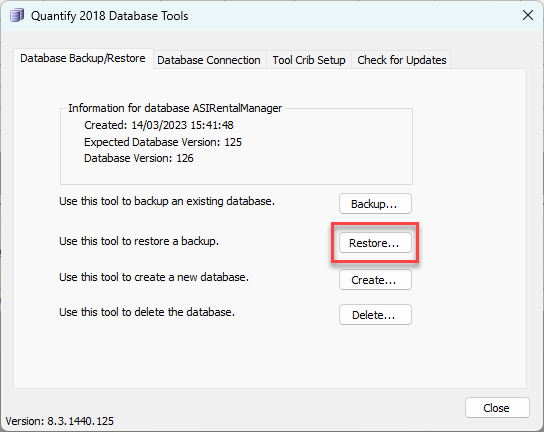
Click Restore
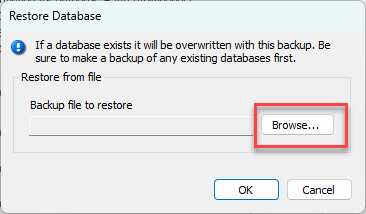
The Restore Database dialog appears.2. Click Browse
The Restore from File dialog appears.
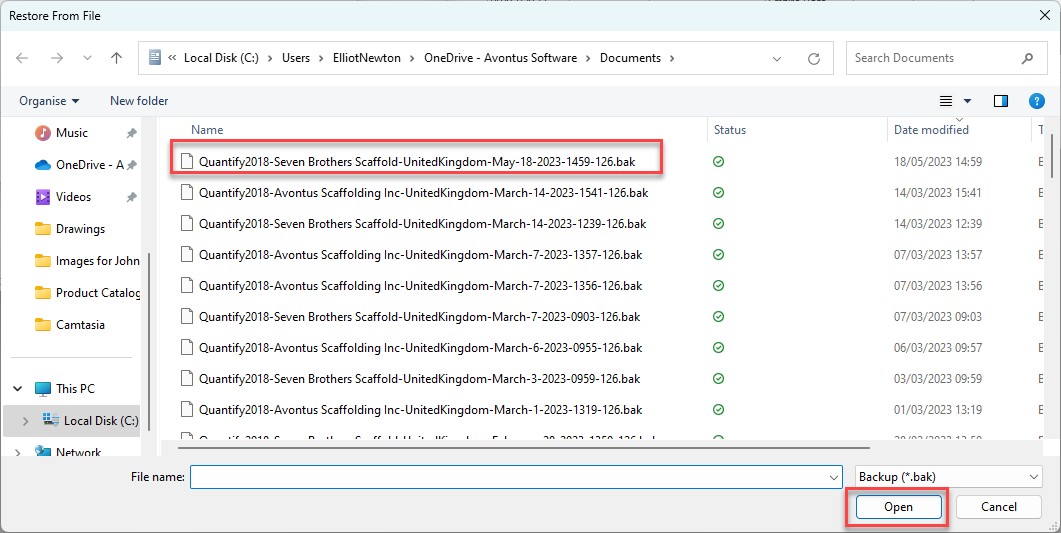
3. Navigate to the directory in which the appropriate database file resides and click Save.
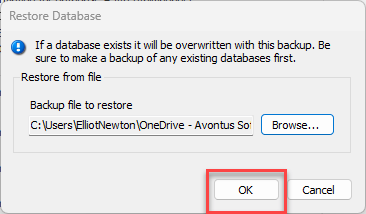
The Restore Database dialog returns.
4. Click OK.
When the restoration is complete, a confirmation dialog appears.5. Click OK.
The database is now ready for use.
You can find these steps in detail here: Using Quantify's Database (DB) Tools.When you first use Quantify to open the migrated database, it will prompt you to activate the database.
6. Email this activation request to support@avontus.com.
The activation request will receive a prompt response.
After the migration is complete, the Quantify clients must be redirected to login to the new server location.7. To do this:
Launch Quantify on the client.
The Quantify Login dialog appears.Click the Connect to a Database or Remote Server button (
 ).
).
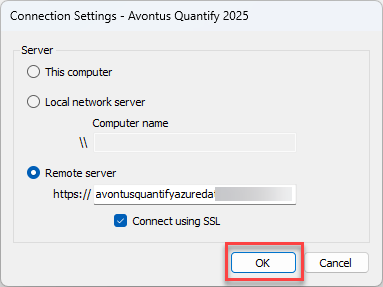
The Connection Settings dialog appears.Click the Remote Server radio button.
Click in the Server Address text field and enter the address of the Quantify database.
As necessary, click the Connect Using SSL checkbox, to put a check in it.
Click OK.
The Quantify Login dialog returns.
You can find these steps in detail here: Using Quantify to Log In to a Remote Quantify Database.
8. Log in with the same credentials as before.
9. To prevent segmentation of data, it is highly recommended that you disable user access to the current servers/databases once the migration is complete.
You can retain the backups and remove the active databases from these instances once the new connections are established.