When working on a new drawing or editing an existing drawing, you can view the following sections or remove them from view.
Viewing a Drawing Tool
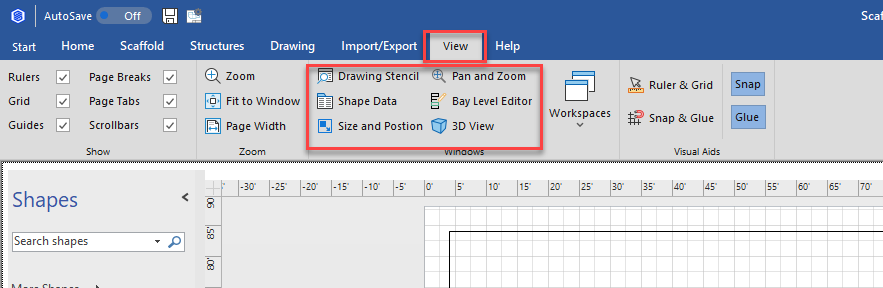
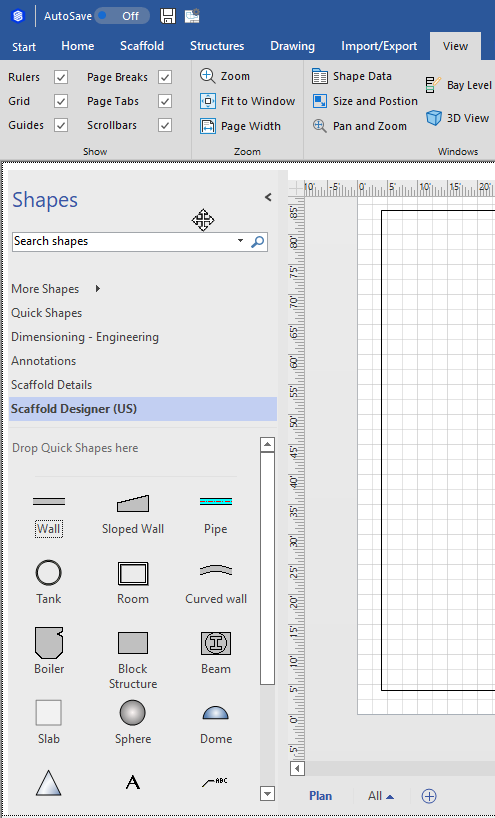
To view a Drawing Page tool, click the View tab, then locate and click the appropriate tool(s).
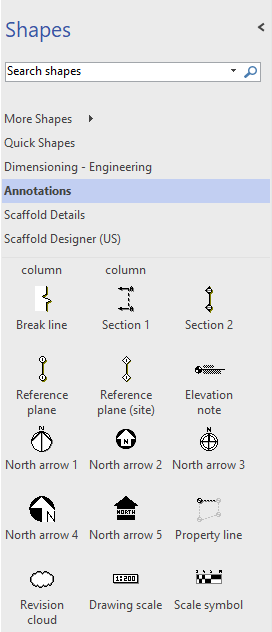
Shapes Pane
The Shapes pane appears when you click Drawing Stencil. contains the available shapes you can use to build a drawing, organized by category. Click the category name to see which shapes are available in that category. To add a shape, click and drag it onto the Drawing Page.
If you want to add shapes to this pane, refer to Making a Stencil of a Frequently Used Drawing Shape.
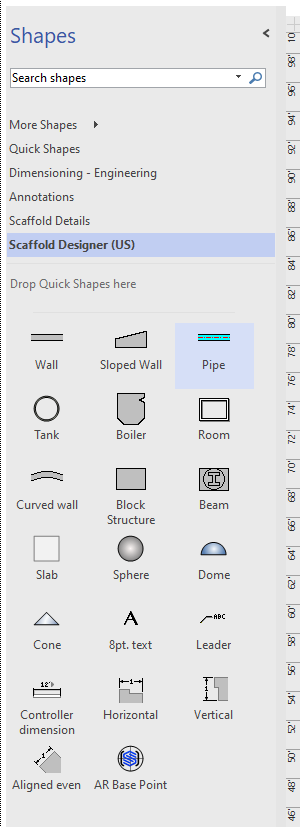
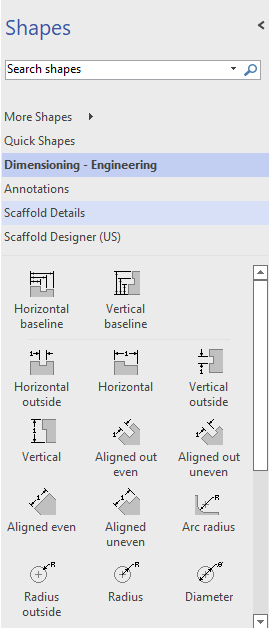
You can also add Annotations and dimensions to the design.
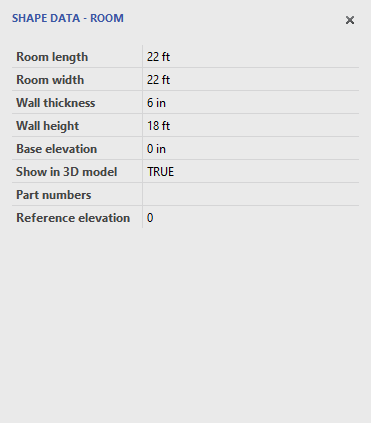
Shape Data Pane
The Shape Data pane enables you to configure many of the characteristics of a selected shape. Which characteristics are available depends on which shape you select. For example, the screenshot below shows the Shape Data pane for a wall. You can use it to enter characteristics like length, thickness, height, etc. To learn how to use this panel, refer to Using the Shape Data Popup to Customize a Shape.
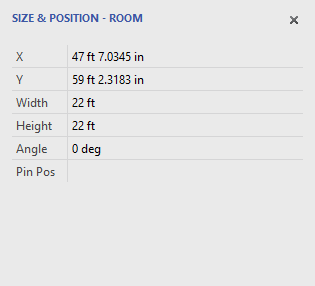
Size & Position Pane
The Size & Position pane enables you to configure the size of a selected shape and where it appears on the Drawing Page. For example, the screenshot below shows the Size & Position pane for a wall. You can use it to enter the X and Y coordinates for its beginning and its end, its length, width, etc. To learn how to use this pane, refer to Using the Size and Position Popup to Edit a Shape.
Pan & Zoom Pane
Enabling the Pan and Zoom will display a small box in the bottom right corner of the screen which enables you to pan and zoom into an area of the Drawing Page, the size of which you determine by dragging the blue square.
Bay Level Editor
The Bay Level Editor contains settings and controls for a selected Bay and enables level-by-level editing. To learn more about the Bay Level Editor, refer to About the Bay-Level Editor.

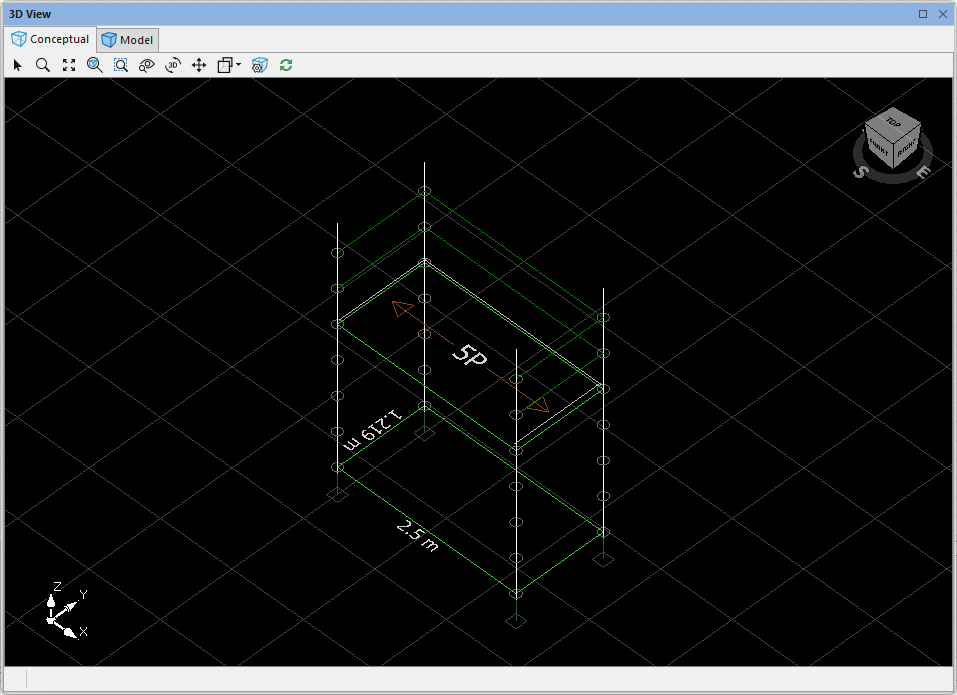
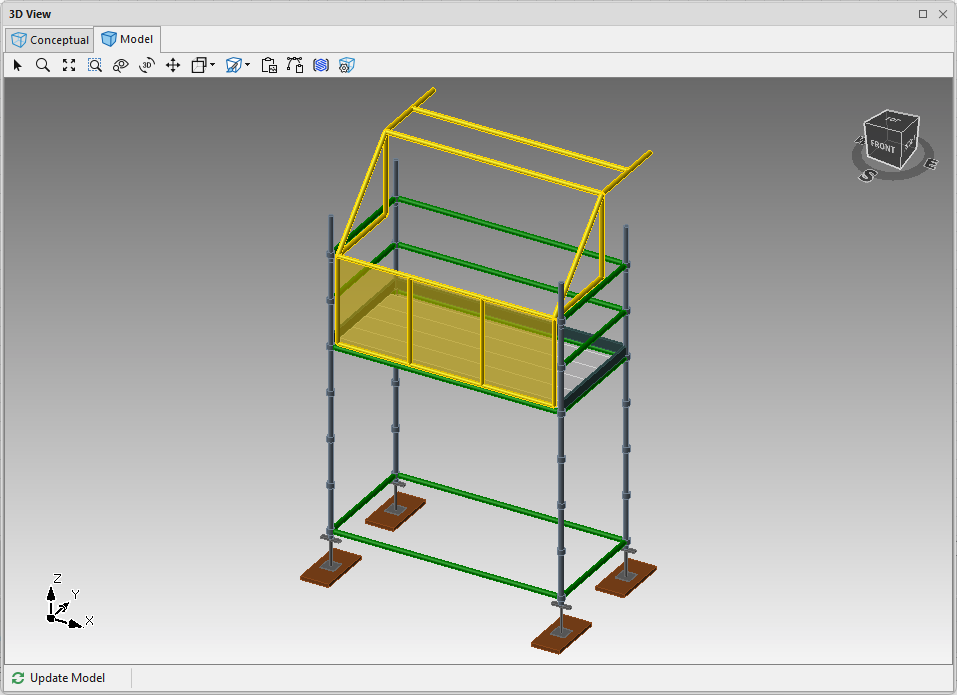
3D View (Conceputal and Model)
The 3D View pane displays a 3D rendering of the currently active drawing. To learn more about this pane, refer to About the 3D View Pane.
Docking
You can also dock the dialog. This can be especially useful when using a dual monitor setup, with the 3D View dialog on the second monitor. Find the area where the cursor changes to  and then click and drag the dialog to where you want it to go.
In some cases, you do not need to see the cursor change, but instead, click on the top of the dialog.

When you move the dialog, you will have options where you can dock the dialog.

Pick a place to dock the dialog, and the dialog will be placed there.