Avontus Designer has two popups that enable you to customize any shape's properties to fit any project: the Shape Data popup and the Size and Position popup. If you want to learn how to customize a shape's properties by clicking and dragging the shape, click here.
Using the Shape Data Popup to Customize a Shape
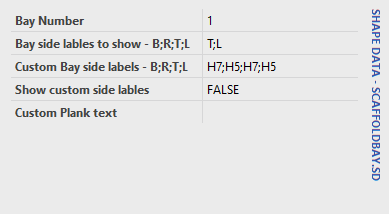
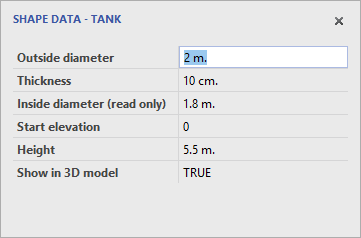
Use the Shape Data popup to edit any shape's characteristics: length, thickness. base elevation, height, etc.
To customize a shape:
Click the drawing item you want to customize.
Click the View menu and then click Shape Data.
Note: If you double-click the shape itself, the Shape Data dialog appears, enabling you to edit the same information.

The Shape Data popup appears.
Depending on what you selected, the Shape Datapopup provides text fields that enable you to change the information it contains.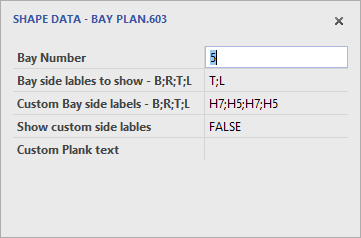
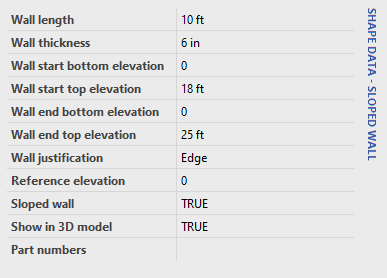
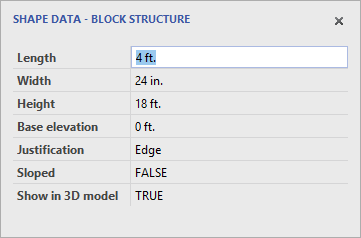
The procedures below show how to enter information for a wall.
Note: for lengths, use ft. for feet, in. for inches and m. for meters.
As necessary:
Click in the Length text field and enter a new length.
Click in the Wall Thickness text field and enter a new width.
Click in the Height text field and enter a new height.
Click in the Base Elevation text field and enter a new width.
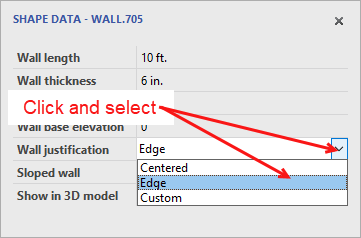
Click the Justification dropdown and select a new justification. Your options are Centered, Edge and Custom.
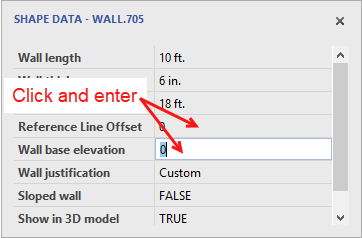
Note: if you select Custom, the Shape Datapopup refreshes.Click in the Wall Base Elevation text field and enter a new elevation.
Click in the Reference Line Offset text field and enter a new offset.
Click the Sloped dropdown and select either True or False.
Click the Show in 3D Model dropdown and select either True or False.
As you make changes, Avontus Designer updates the drawing accordingly.
Using the Size and Position Popup to Edit a Shape
Use the Size & Position popup to edit any shape's size and position characteristics: beginning and ending coordinates, length, angle, height, etc.
To customize a shape:
Click the drawing item you want to customize.
Click the View menu and then click Size and Position.
Note: If you double-click the shape itself, the Shape Data dialog appears, enabling you to edit the same information.

The Size & Position popup appears depending on what you selected, the Size & Position popup provides text fields that enable you to change the information it contains.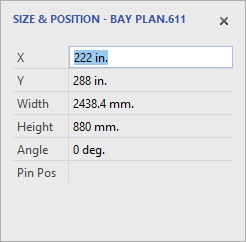
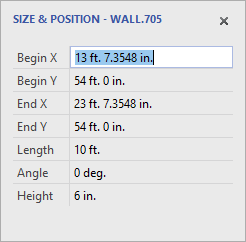
The procedures below show how to enter information for a wall.
Note: for lengths, use ft. for feet, in. for inches and m. for meters.
As necessary:Click in the Begin X text field and enter the point on the X Axis that you want the wall to begin.
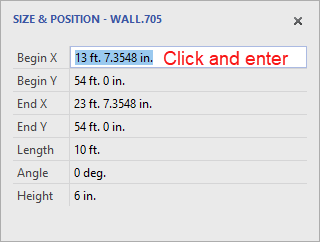
Click in the Begin Y text field and enter the point on the Y Axis that you want the wall to begin.
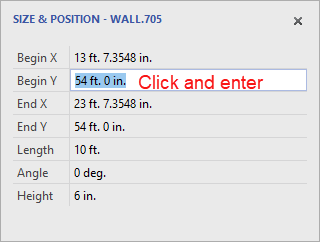
Click in the End X text field and enter the point on the X Axis that you want the wall to end.
Click in the End Y text field and enter the point on the Y Axis that you want the wall to end.
Click in the Length text field and enter the new length for the wall.
Click in the Height text field the new height for the wall.
As you make changes, Avontus Designer updates the drawing accordingly.