An area is a useful way to group scaffolds or requests together allowing users to easily organise their scaffolds or requests into relevant groups. These Areas can be geographical (an area on a Job site) or they could be used to group scaffolds together depending on the unit that the scaffold is built on. For example, an Area could be created that groups together scaffolds that are erected around an Alkylation Unit. The area could then be called ALKY.
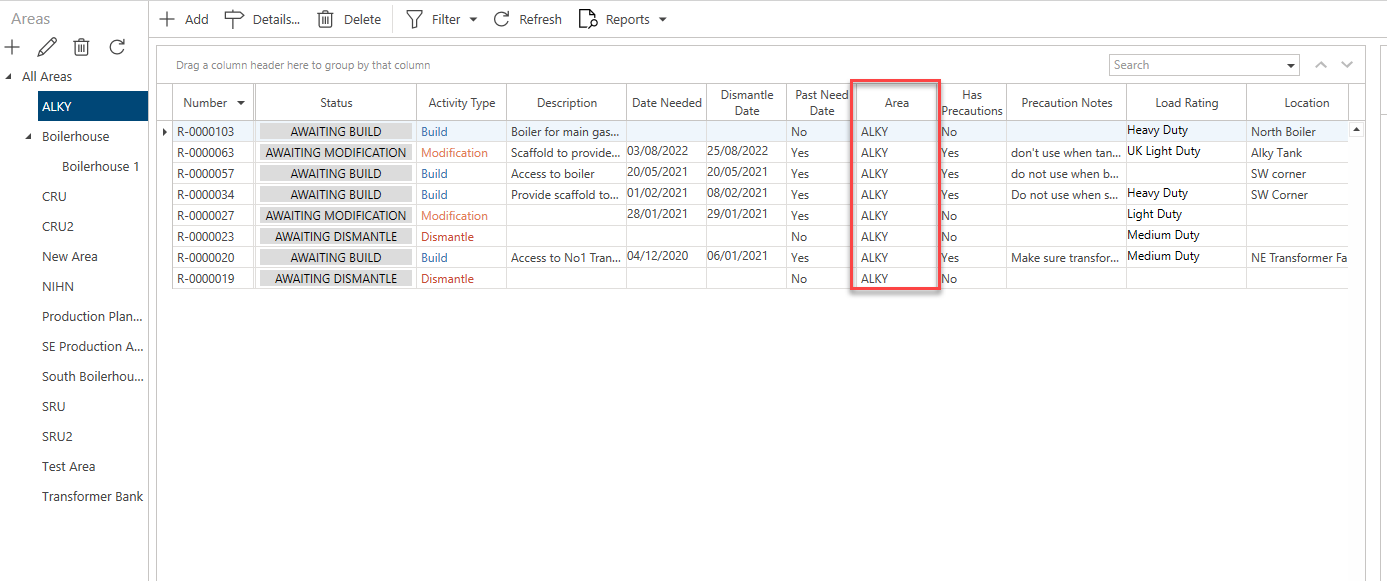
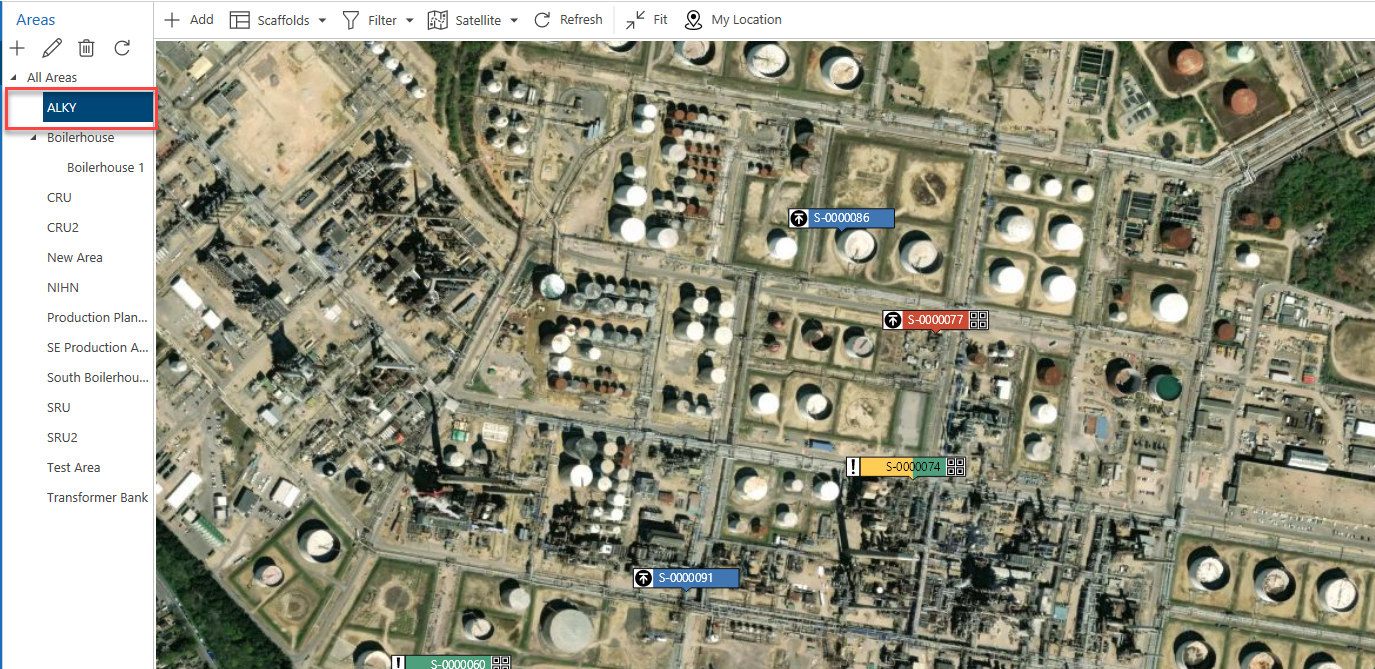
Selecting an Area will display only scaffolds or requests that have been assigned to that area.
For instance, if we select ALKY then the map will display only scaffolds or requests that are assigned to the ALKY Area.
For more information on assigning Areas, please visit the Assigning a Scaffold or Request to an Area guide.
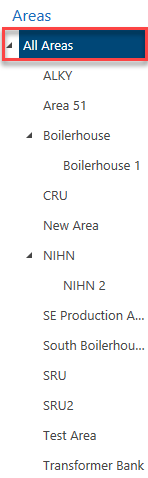
Select All Areas to display all areas regardless of which area they are assigned to.
Subareas
You can also create subareas to split scaffolds and requests where there are multiple of the same unit in your Job Site. You can create these by selecting an Area and adding a new Area. Any Area with a subarea will be indicated by a small black marker.
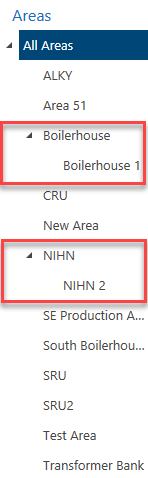
For more information on adding a subarea, visit the Adding a Subarea guide.
Adding, Editing, Deleting areas
Along the top are four icons.
| Icon | Purpose |
|---|---|
| Select this icon to create a new Area. |
| Select this icon to edit an Area. |
| Select this icon to delete an Area. |
| Select this icon to refresh the Area list. |
For more information visit:
Request and Scaffold Screens
The area section also appears in the Request, Scaffold, and Activities screens.
Like the Map screen, you can select an Area so that only requests or scaffolds assigned to that area are displayed in the table.