Quantify enables you to add and track individual Product serial numbers. However, before you can add Products with serial numbers to the Product Catalog, you must enable serialized asset tracking in the Global Options dialog. Once enabled, Quantify makes it easy to add Products with serial numbers. However, remember that Products cannot be both serialized and un-serialized. If a Product was previously used as an un-serialized Product, you cannot modify it to be serialized. Once you have added the serialized items to your Product Catalog, you can add them to Branch Office inventory via Transactions, or you can add them to Branch Office inventory using Adjust Quantities. Finally, if you want to add serialized inventory that will be re-rented from a third party, you must create a re-rent transaction.
Before you can work with Products that have serial numbers, you must enable serialized Product tracking in the Global Options dialog. Refer to About the Global Options Dialog General Tab in the The Global Options Dialog.
Adding a Product with a Serial Number
Note: Products cannot be both serialized and un-serialized. If the Product was previously used as an un-serialized Product, you cannot modify it to be serialized.
To add a Product with a serial number:
Click Product Catalog.
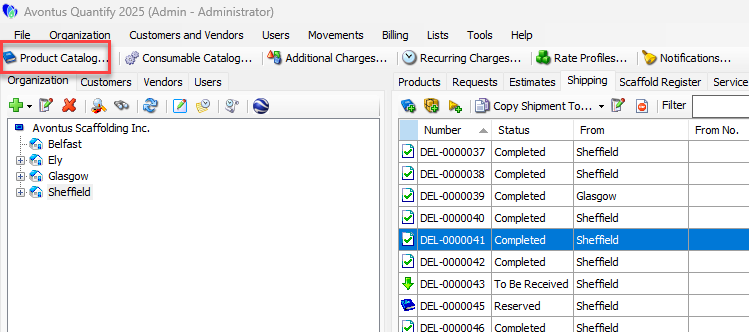
The Product Catalog appears.Click the Add button (
 ). This opens an empty row that can be used for the new item.
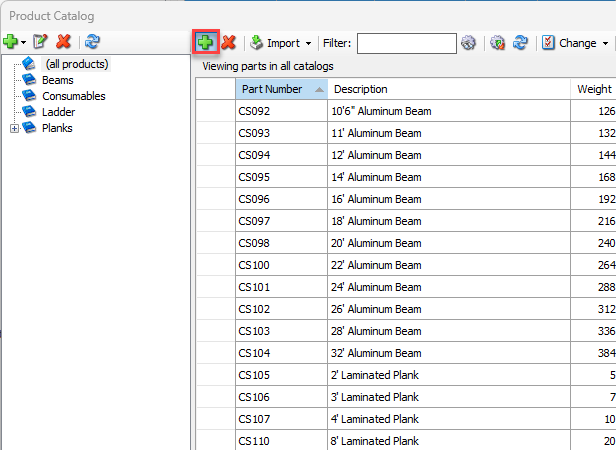
Click in the Part Number text field and enter the part number for the new item
Click in the Description text field and enter a description for the new item.

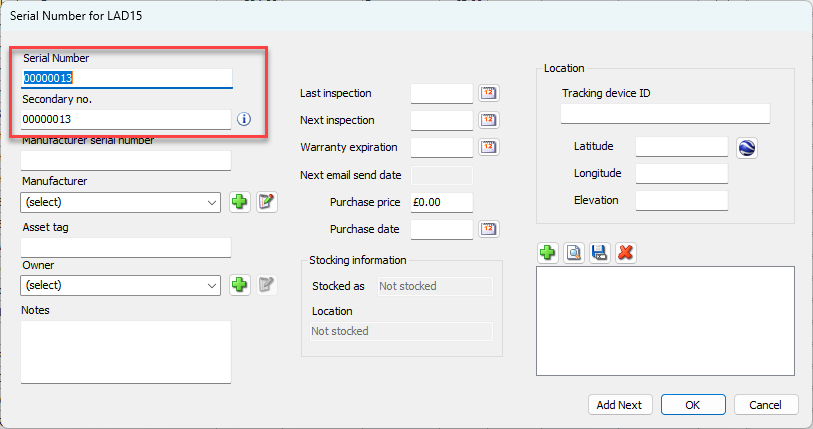
Click the Serial Number button for the new Product.
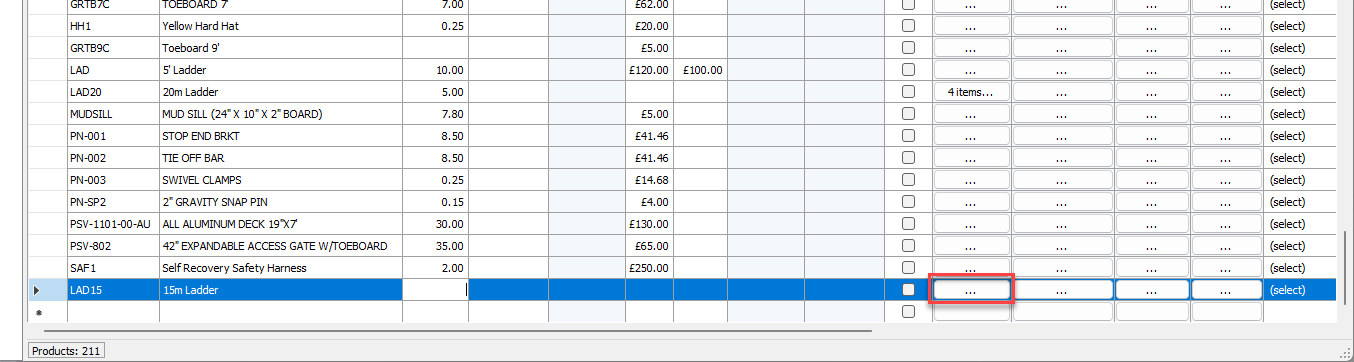
The part number – part description dialog appears.Click the Add button (
) to add individual serial numbers for the new product.

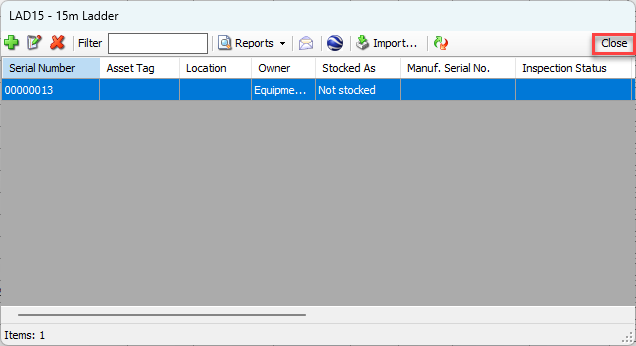
The Serial Number for Product dialog appears.Click in the Serial Number text field and enter the unique serial number for the new Product.
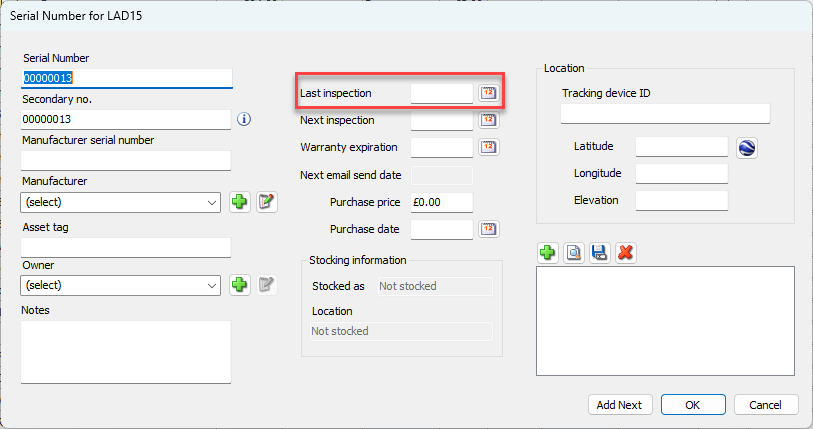
Click the Last Inspection calendar icon (
 ).
).
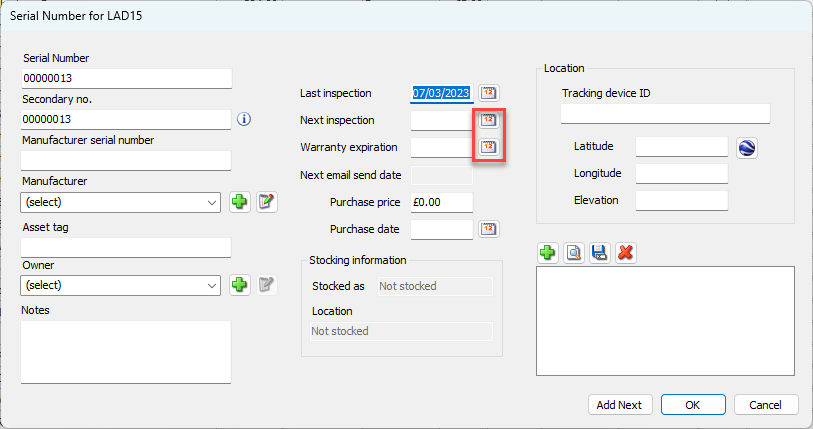
A calendar appears.Locate and click the appropriate date.

Set the Next Inspection and Warranty Expiration dates
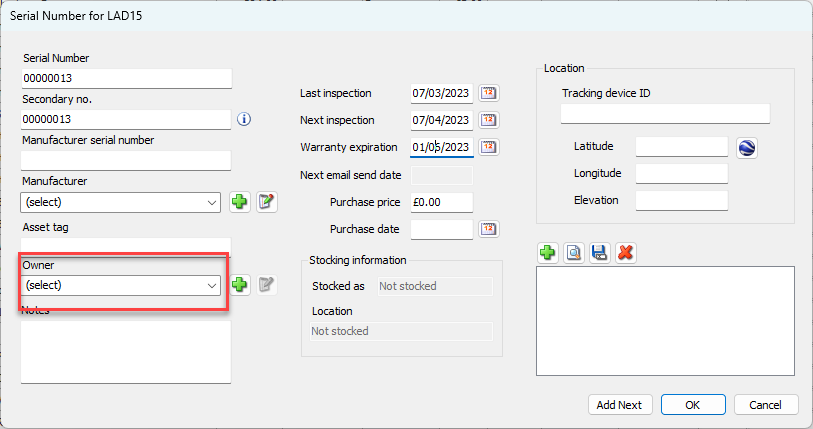
If the new Product is to be re-rented, click the Owner dropdown and select the owner.
Enter any other information as necessary.
Click OK if you are done.
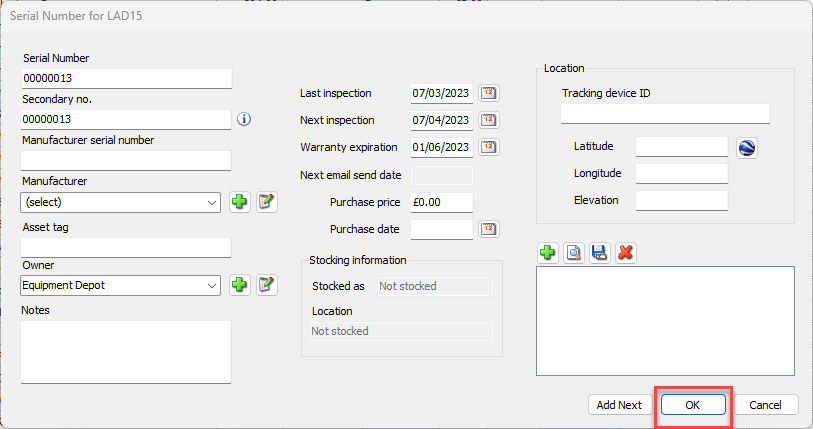
Note: If you want to add more serial numbers, click Add Next.
Click Close