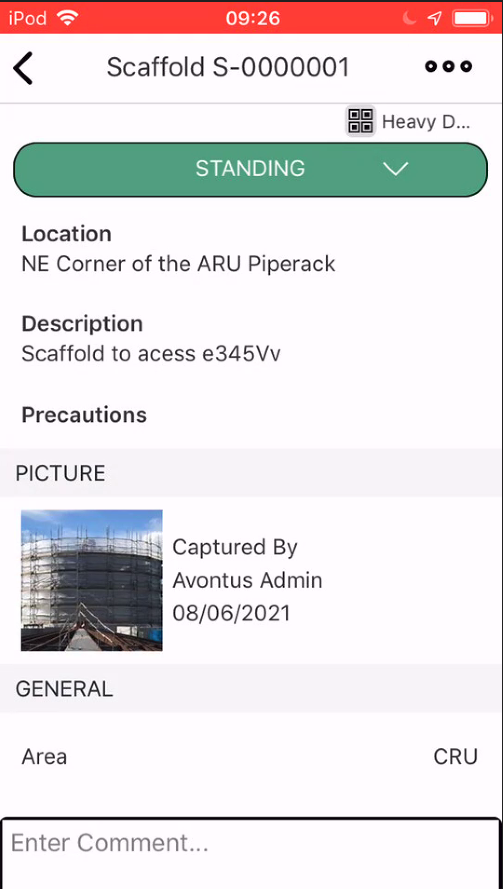
The Scaffold Details screen displays the details of a Scaffold, including the location of the scaffold, a description of the scaffold (its purpose) and any precautions an onsite worker should take when using the scaffold.
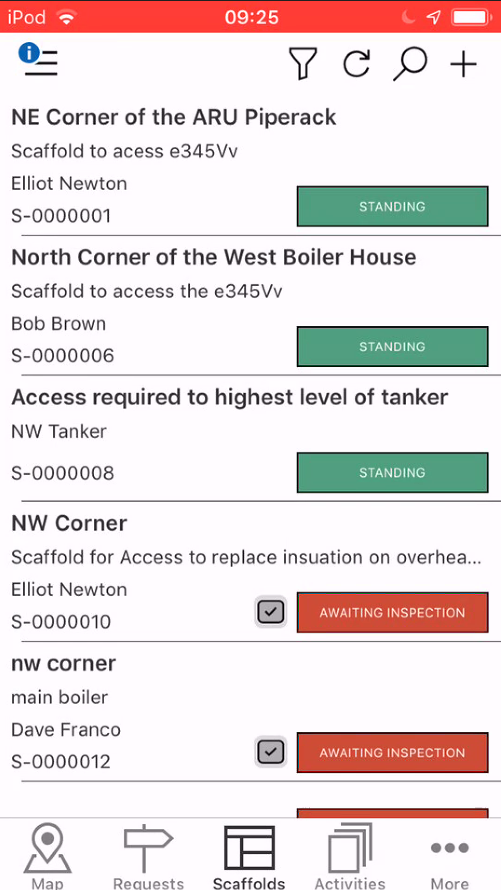
Tapping on a scaffold in the Scaffolds screen will open details for the selected scaffold.
The Scaffold Details screen provides an overview of the selected scaffold. This includes the location of the scaffold, a description of the scaffold (its purpose) and any precautions an onsite worker should take when using the scaffold.
Watching and Editing a Scaffold
The three dots in the top right (see below) allows the user to edit the scaffold and "watch" the scaffold for any changes made to its details or a change in status.
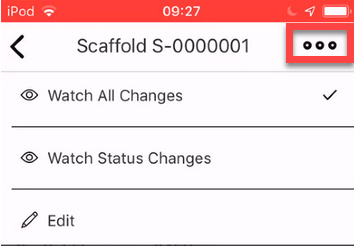
Watch All Changes - This will send a notification to you whenever any changes, including changes to the scaffold's details and any status changes, occur on the scaffold. These can be viewed in the Notifications screen.
Watch Status Changes - This will send a notification only when the scaffold's status is changed. These can be viewed in the Notifications screen.
Edit - Make changes to the scaffold.
Scaffold Details
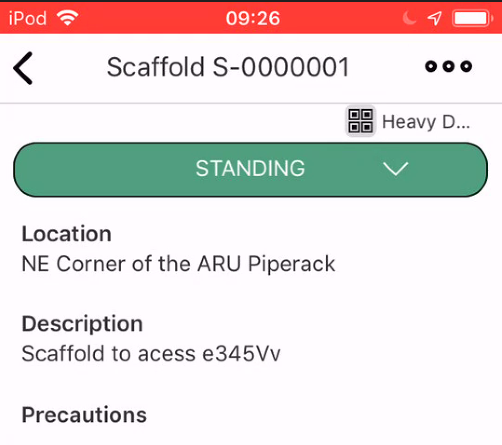
At the top of Scaffold Details screen, you will find a general overview of the scaffold. This will include details such as the status and a description of the scaffold.
Past Dismantle
The Past Dismantle warning indicates that the scaffold has past the date that was specified as the dismantle date set in the Dates section in the Scaffold Details.

These icons are related to the scaffold's status.
Icon | Purpose |
| Indicates that the scaffold is in the build status |
| Indicates that the scaffold is out of limits. |
| Indicates that that scaffold is undergoing inspection. |
| Indicates that the scaffold is undergoing dismantle. |
| Indicates that the scaffold is undergoing a handover. |
| Indicates that the scaffold is undergoing a modification. |
Duty
There is a small duty icon that indicates the weight of work the scaffold will have to endure.
Light
![]()
Medium
![]()
High
![]()
This can be changed by tapping the three dots and selecting Edit.
Status
This indicates the status of the scaffold. Select the status button to change the status of the scaffold.
![]()
For more information on statutes, please see the Working with Statuses guide.
Location
This indicates the location of the scaffold. This can be changed by tapping the three dots and selecting Edit.

Description
This is a description of the scaffold, best used by explaining the purpose of the scaffold. This can be changed by tapping the three dots and selecting Edit.

Precautions
Indicate to onsite workers of any potential issues and warnings they should take notice of when working on the scaffold. This can be changed by tapping the three dots and selecting Edit.

Picture
The scaffold image is where you can view or upload an image of the scaffold.
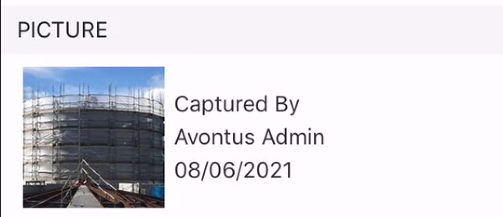
For more information on adding images, please see the Adding an Image to a Scaffold guide.
General
The General section provides a general overview of the scaffold.
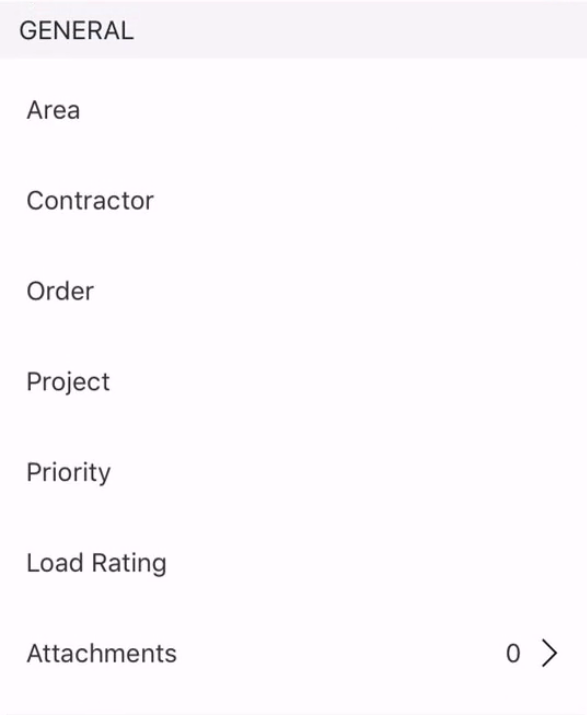
Area
An Area is a useful way to group scaffolds or requests together allowing users to easily organise their scaffolds or requests into relevant groups. These Areas can be geographical (an area within a jobsite) or they could be used group scaffolds together depending on the unit that the scaffold is built on. For example, an Area could be created that groups together scaffolds that are erected around an Alkylation Unit. The area could then be called ALKY.
To assign an area to a request or scaffold, please see the Assigning an Area to a Request or Scaffold guide.
Note: It is not possible to create an area on the mobile app. Please do this on the desktop.

Contractor
This is the contracting company hired to erect the scaffold. This can be changed by tapping the three dots and selecting Edit.

For more information on Contractors, please visit Contractors
Order
The order number of the scaffold.

For more information on Orders, please visit Orders
Project
The project the scaffold is assigned to.

Priority
Indicates the importance of the scaffold. The three levels are:
Low
Medium
High
This can be changed by tapping the three dots and selecting Edit.
Load Rating
Indicates how much load the scaffold will endure.
This can be changed by tapping the three dots and selecting Edit.

For more information on Load Ratings, please visit Load Ratings.
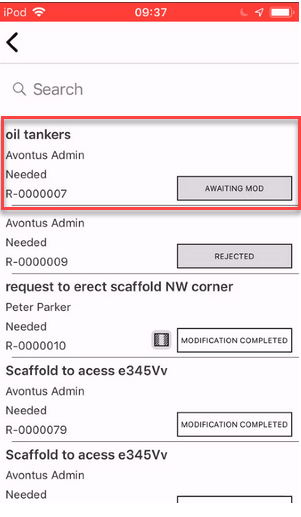
Requests
This section details what requests have been made on this scaffold. These requests could be a modification request or a dismantle request.
The number shows the number of requests linked to the Scaffold
Tap on the Requests section to open the Requests screen where you can see the dismantle and modification requests made for the selected scaffold.
![]()
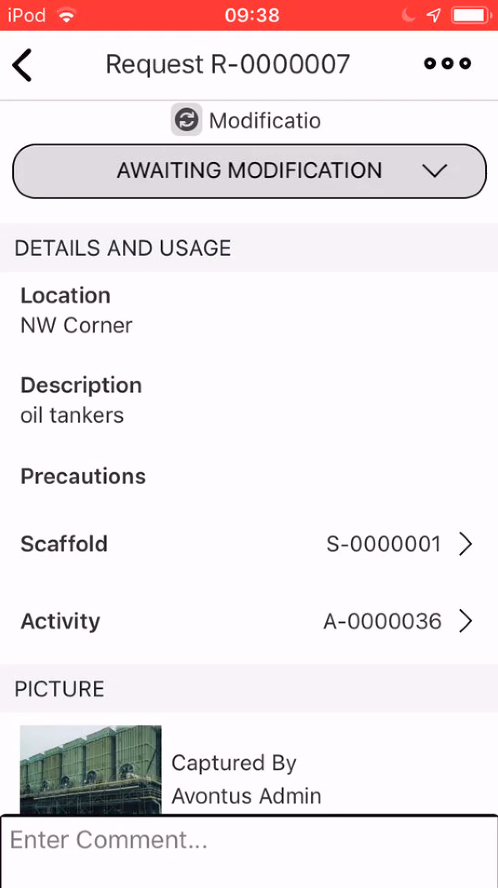
Tap on a request to be taken to the request's approval screen where you can approve the modification or dismantle request.
Here you can see the details of the selected Request
For more information on Adding Requests, please visit Adding a Request (IOS).
Activities
This section details what activities are to be actioned or have been actioned on this scaffold. These activities could be a scheduled modification, scheduled dismantle or a scaffold repair.
The number (11) indicates how many

Tap on the Activities section to open the Activity screen where you can see all related activities, both completed and to be completed, for the selected scaffold.
Note: The number indicates the number of activities related to this scaffold.
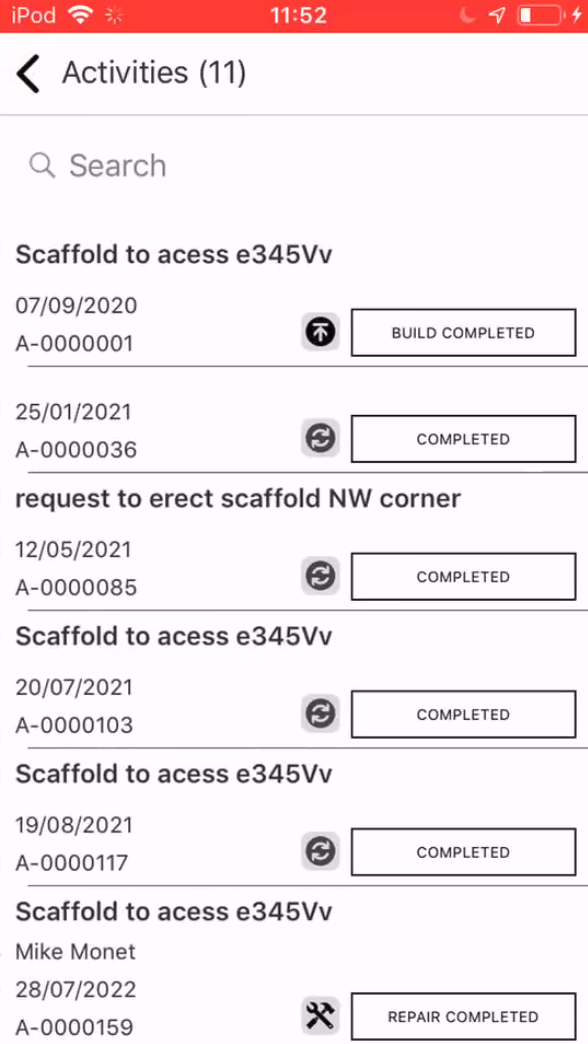
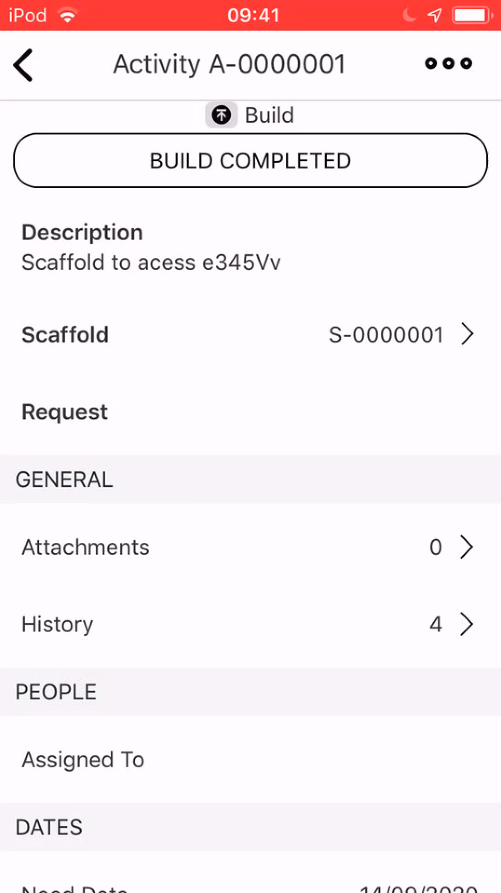
Tap the activity to open the Activity Details screen.
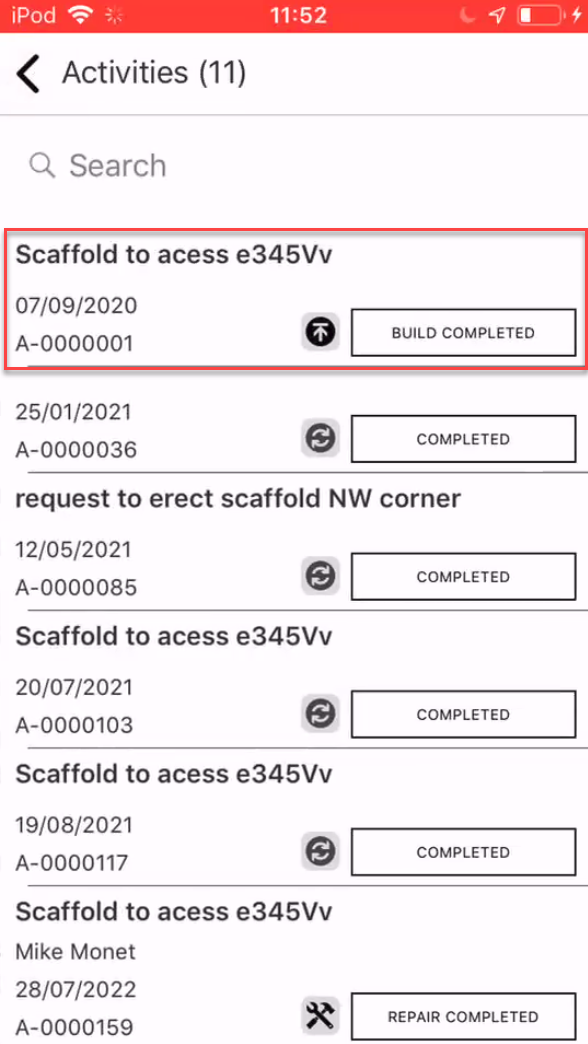
This will take you to the Activity Details screen of the selected activity where you can action the activity.
For more information on Activities, please visit the Activity section.
Handovers
This section details what Handovers are to be actioned or have been actioned on this scaffold. Number shows number of Handovers linked to Scaffold

Tap on a Handover to view more details on that Handover
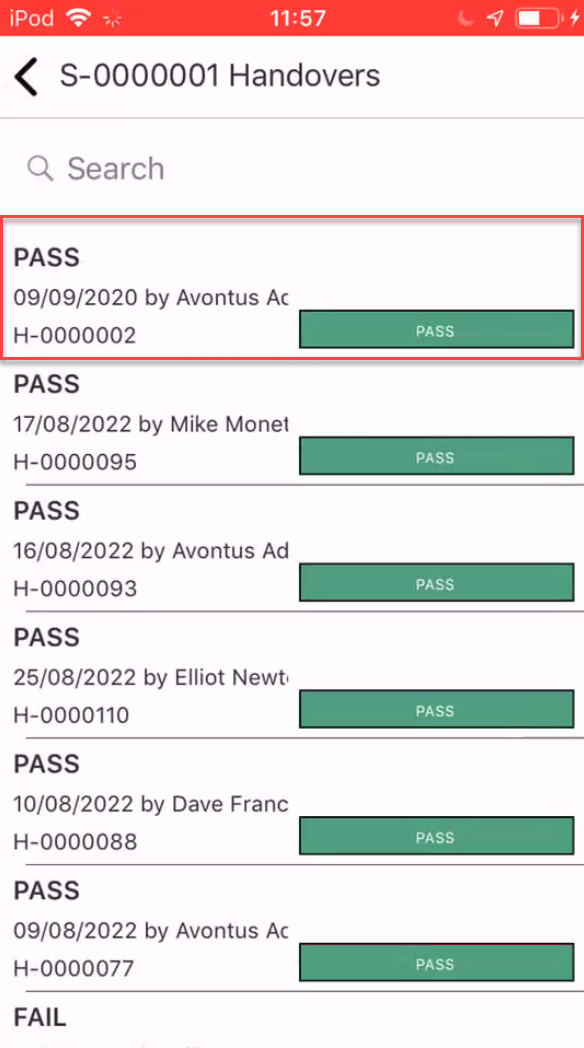
You will see the Handover details
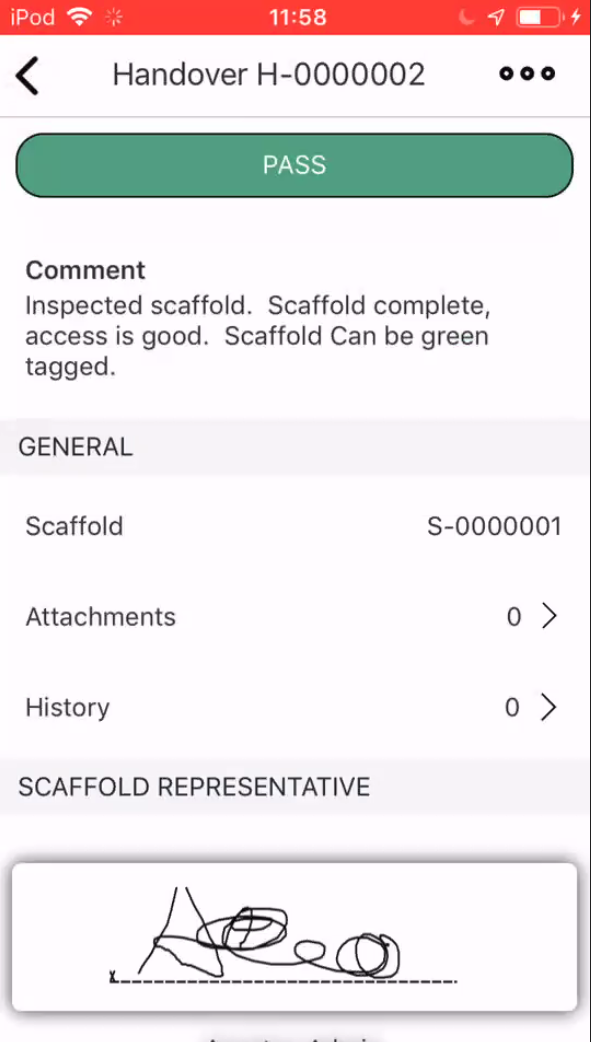
For more information on adding handovers, please see the Performing a Handover guide.
Attachments
This section displays any documents, plans, images or models attached to the scaffold. Tap on Attachments to see any documents attached to the scaffold.

This will display all documents, plans, images, etc that have been attached to this scaffold.
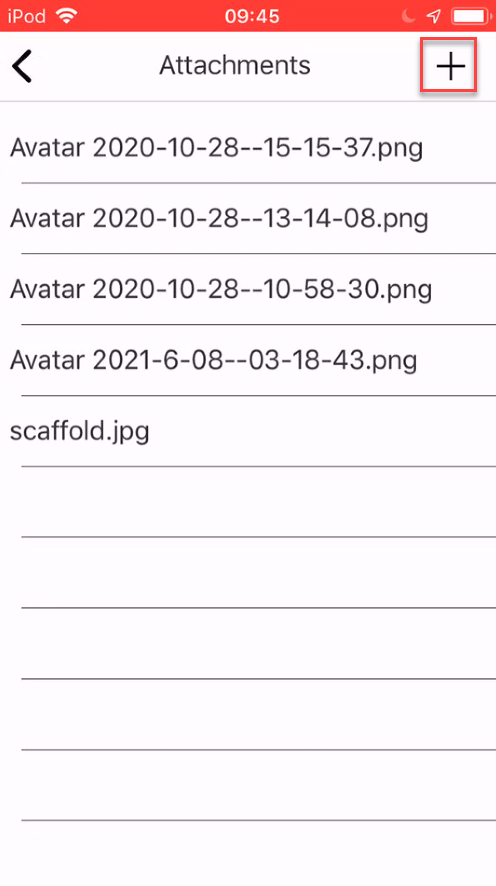
Tap on an attachment to open it. Attachments can be added by tapping the + button.
For more information on adding attachments, please see the Adding an Attachment guide.
History
The History screen provides an overview of all changes, including status changes, on the scaffold. The number indicates the number of changes made to this scaffold

Tap on the History section to open the History screen where you can find all changes (such as a change in the End User), and status changes (from Standing to Awaiting Dismantle) for the selected scaffold.
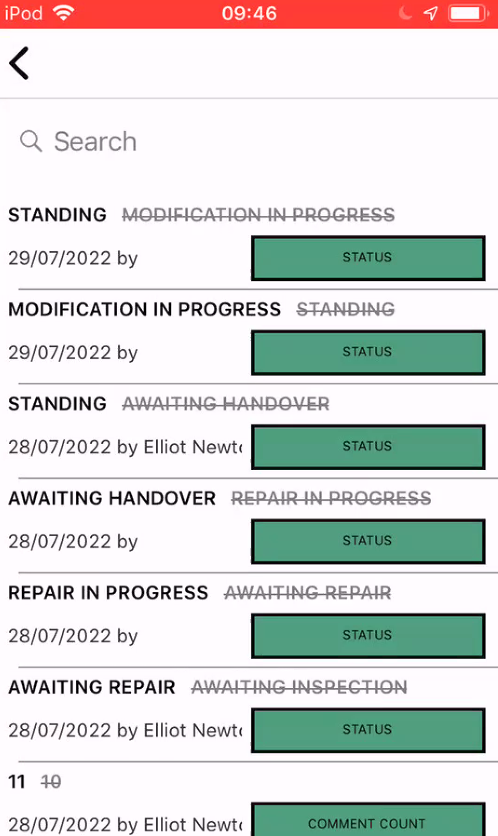
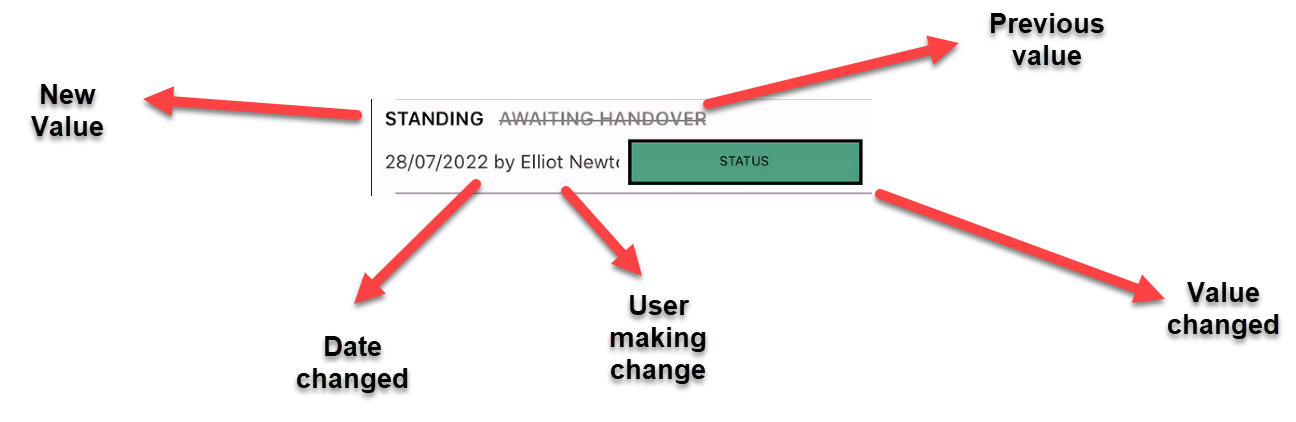
The History screen provides an overview of all changes made to the scaffold, including the value changed and the original and new values.
Location
Indicates the location of the scaffold. Tap the location section to be taken to the location of the scaffold on the map. Tap anywhere within this section to jump to Map screen with the selected Scaffold displayed
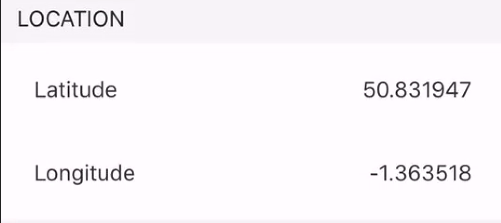
The location can be changed by tapping the three dots and selecting Edit.
For more information on changing a location, please view the Changing a Scaffold Location guide.
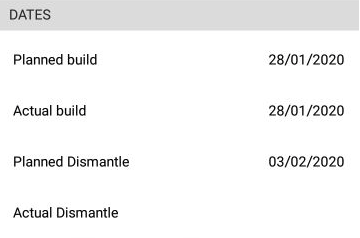
Dates
These are the important dates related to the scaffold such as the planned build date and the actual build date. These dates can be changed by selecting the three dots in the top-right and selecting Edit.
Planned build - The date the scaffold was planned to be erected.
Actual build - The date the scaffold was actually erected.
Planned Dismantle - The planned dismantle date.
Actual Dismantle - The actual dismantle date.
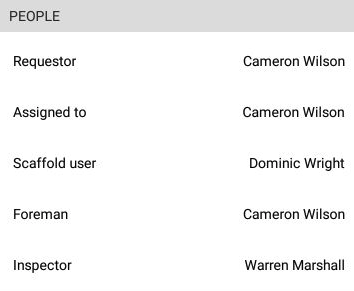
People
These are the people associated with the scaffold. These can be changed by tapping the three dots and selecting Edit.
Requestor - The person who made the original request to erect a scaffold.
Assigned To - The person who the scaffold is assigned to.
Scaffold User - The onsite worker who will be using the scaffold.
Foreman - The person assigned as the foreman to this scaffold.
Inspector - The person who would inspect the scaffold.
Inspections
Provides an overview of any inspections performed on this scaffold.
Tap Inspections to be taken to a list of inspections performed on this scaffold.
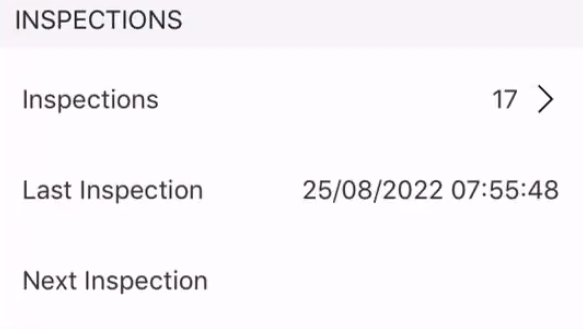
By tapping inspections, you will see a list of inspections undertaken on this Scaffold.
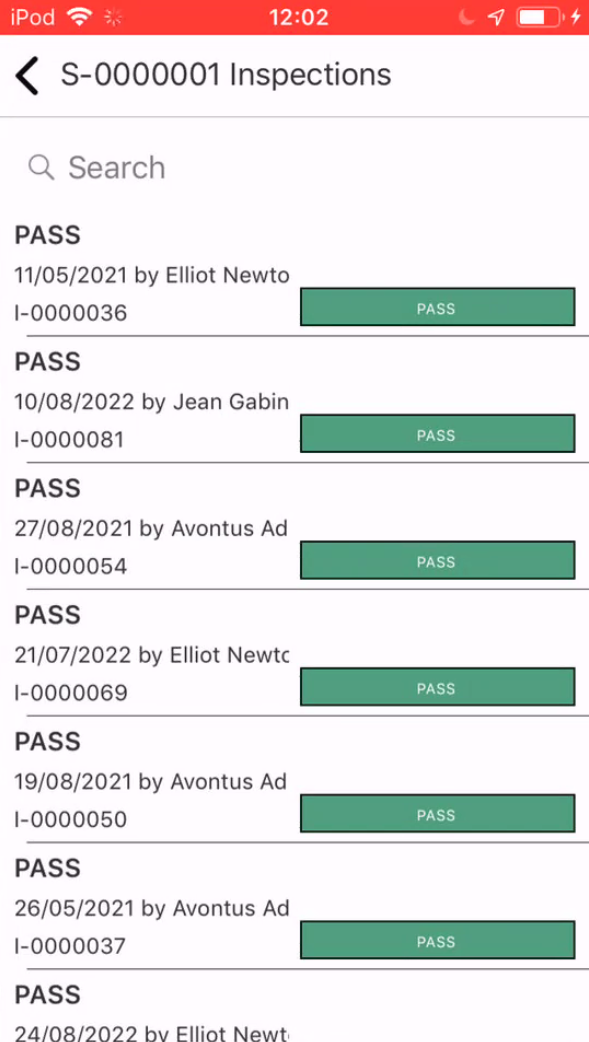
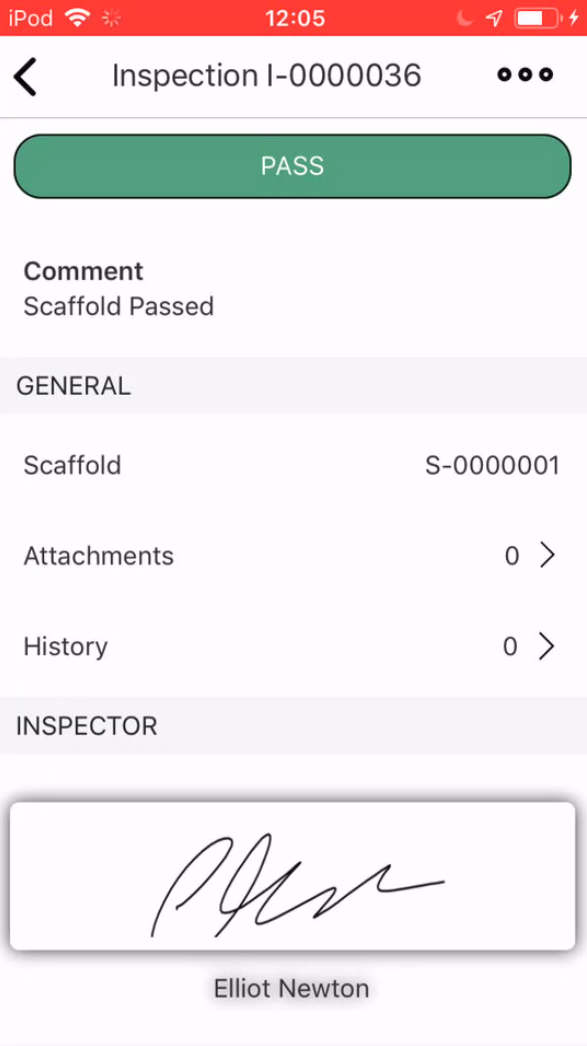
Tap on an inspection to view the Inspection Details.

In the Inspection details, you can see who passed (or failed) the inspection.
Avontus Viewer Model
A 3D model of the scaffold created in Avontus Designer. This will be viewed in Avontus Viewer.
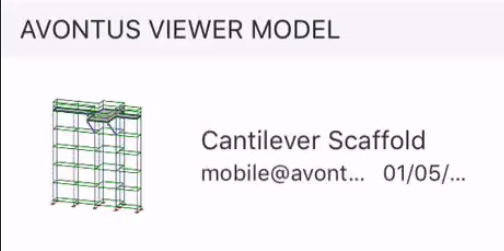
Tap on the Avontus Viewer Model section to open the model in Avontus Viewer.
Note: You will need to install the Avontus Viewer application on your phone.
For more information, please see Adding a 3D Model to a Scaffold.
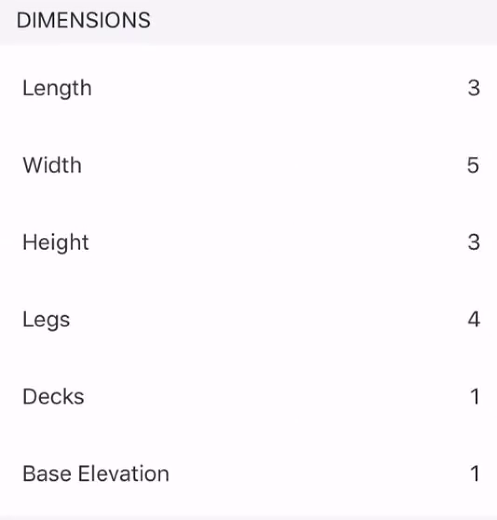
Dimensions
The Dimensions section is where the measurements of the scaffold are recorded. This will include the length, height and width as well the number of decks, legs and the base elevation.
Note that the units are agnostic meaning the unit the scaffold will be measured in will be dependent upon what is the most commonly used system (metric or imperial) in your geographical region.
You can edit the dimensions by going into Edit mode.
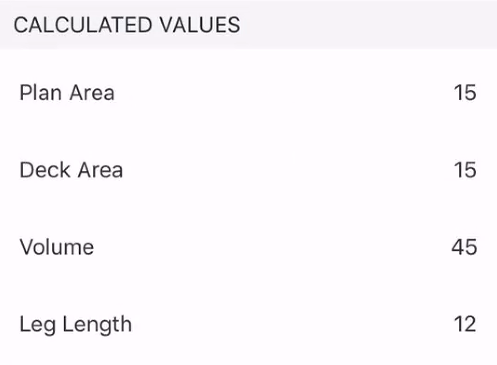
Calculated Values
The Calculated Values section calculates the dimensions provided and provides the size of the scaffold.
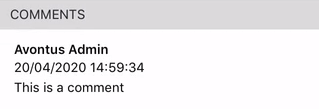
Comments
The Comments section is where you can find notes or comments that contain miscellaneous information on this scaffold. These comments can either be added via the comment box or they are added during a status change such as a scaffold undergoing a Handover.
To add a comment, scroll down to the bottom of the Scaffold Details screen and click the comment section.
For more information on adding a comment, please see Adding a Comment to a Scaffold.